Last spring a neighbor texted me a photo of a giant cardboard box on her porch. She had ordered a “complete” drip kit online, opened it, and realized she had no idea if any of it fit her spigot, her water pressure, or the raised beds she wanted to water. Two of the three bags of parts went back.
That box is the reason I put together this drip irrigation checklist. A little measuring and a few decisions upfront save you from that porch moment, and from three trips to the hardware store during install week.
The goal here is simple: figure out what your yard actually needs before you spend a dollar. If you are brand new to all of this, my walkthrough on the fundamentals of how drip systems work pairs well with what follows.
Key takeaways
- Measure your water pressure (psi) and know your source before buying, because most drip parts want 15-30 psi.
- Count your plants and note spacing so you buy the right emitter count and tubing length.
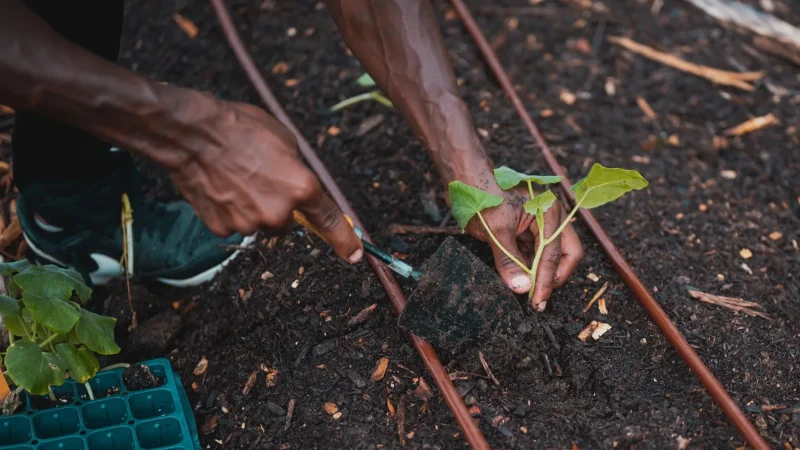
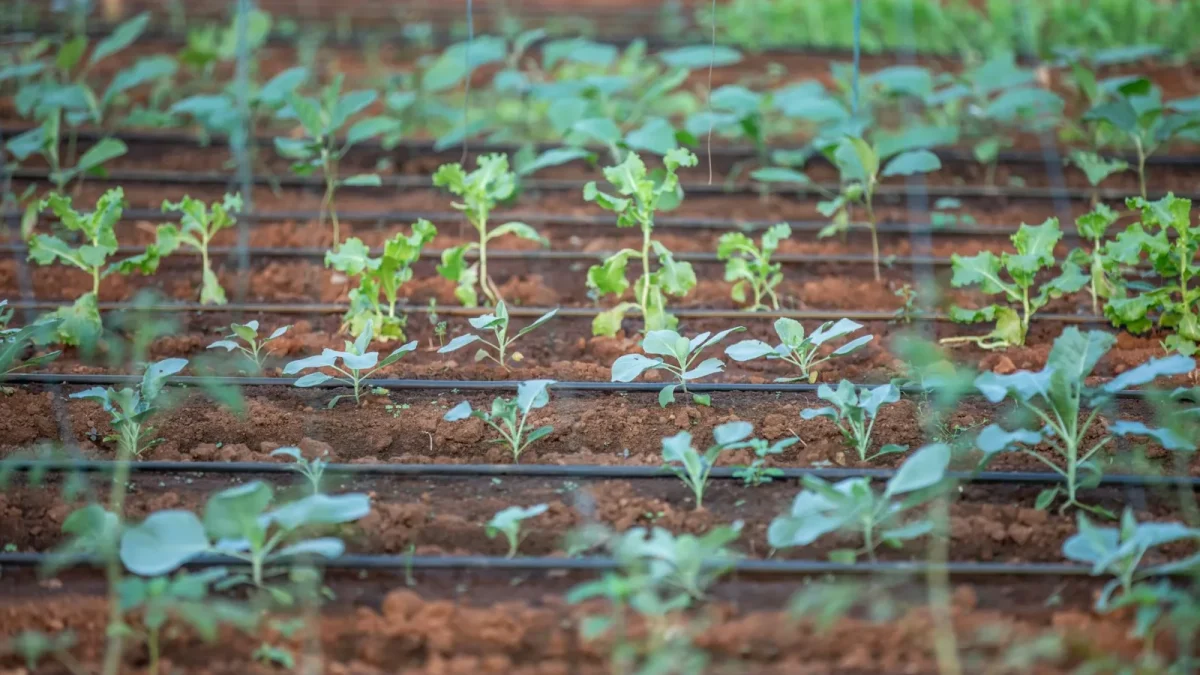
- Match tubing size to the job: 1/2 inch mainline for the backbone, 1/4 inch for branches to individual plants.
- Sketch the layout and set a rough budget so the kit you order actually matches your yard.
Start with your water source and pressure
Every plan starts at the tap. Walk out and look at where your water comes from: an outdoor hose spigot, a rain barrel, or a dedicated irrigation valve. Each one behaves differently.
Next, find your water pressure, measured in psi (pounds per square inch, basically how hard the water pushes). Most home spigots run 40-80 psi, but drip emitters are happiest around 15-30 psi. That gap matters.
A cheap brass pressure gauge that screws onto your spigot costs about 10 to 15 dollars and takes ten seconds to read. Buy one before anything else.
Watch out
If your pressure reads above 40 psi, you will need a pressure regulator (a small inline part that knocks pressure down to a safe level). Skip it and your 1/4 inch tubing can pop off the fittings and spray your garage door instead of your tomatoes.
Count plants and map the spacing
Grab a notepad and count what you are watering. Twelve tomato plants, a row of peppers, four rose bushes, and a strip of native shrubs is a very different order than a single patio pot.
Note how far apart your plants sit. Emitters (the little drippers that meter water out) come in flow rates like 0.5, 1, and 2 gallons per hour, and you match the count to plant size. A small pepper is fine with one 1 gph emitter, while a mature rose or citrus tree might want two or three.
A mistake I see constantly: people buy one bag of emitters and assume it covers everything. Then the big shrubs stay thirsty. Count first, then buy about 20 percent extra, because you will always find one more plant.
Choose your tubing sizes
Drip systems use two main tubing sizes, and mixing them up is the most common ordering error I fix.
| Tubing size | Job it does | Rough cost |
|---|---|---|
| 1/2 inch mainline | The backbone that carries water across the yard | 25 to 40 cents per foot |
| 1/4 inch microtubing | Short branches from the mainline to each plant | 8 to 12 cents per foot |
Measure the total run for your 1/2 inch mainline by walking the path it will take, then add a few feet of slack for corners. For the 1/4 inch tubing, figure roughly 1 to 2 feet per plant depending on how far each sits from the mainline.
Quick tip
Write your two lengths on the same notepad page as your emitter count. When you shop, you are matching numbers to products instead of guessing, which is where over-buying and under-buying both happen.
The pre-purchase checklist
Here is the whole thing in one place. Work through it in order, and by the end you will have a shopping list instead of a shrug.
- Water source identified (spigot, barrel, or valve).
- Pressure measured in psi with a gauge.
- Pressure regulator needed? (yes if over 40 psi).
- Backflow preventer noted (keeps garden water from flowing back into your drinking supply; many areas require one).
- Filter chosen (a mesh screen that stops grit from clogging emitters).
- Plant count written down, grouped by size.
- Emitter flow rates and totals decided (0.5, 1, or 2 gph).
- 1/2 inch mainline length measured.
- 1/4 inch tubing length estimated.
- Timer or controller decided (manual, battery, or smart).
- Rough budget set.
That backflow preventer and filter are easy to forget, and both are cheap insurance. A basic filter runs about 8 to 15 dollars and saves you from clearing clogged emitters all summer.
Decide how you will run it
How you turn the water on shapes your budget and your daily habits. A manual setup means you stand at the spigot; fine for a tiny bed, tedious for a whole yard.
A battery timer (roughly 25 to 45 dollars) waters on a schedule you set. Smart controllers that adjust for weather cost more, often 80 to 150 dollars, but they save water on cool days.
Deciding this now matters because the timer connects at the spigot, ahead of your regulator and filter, so it is part of the parts order. If you are unsure how long each cycle should last once it is installed, my notes on setting drip run times for different plants will help you dial it in.
Good to know
Drip is not always the right tool. A dense lawn or a big wildflower meadow is usually better served by other methods, and it is worth reading how drip, sprinklers, and soaker hoses compare before you commit your whole yard to one approach.
Sketch it and set a budget
You do not need a fancy drawing. A rough overhead sketch of your beds, the spigot, and where the mainline runs is enough to catch problems on paper instead of in the dirt.
Mark where the mainline turns and where each 1/4 inch branch peels off to a plant. This one step tells you if your measured tubing lengths are actually right.
For a small first system covering one or two raised beds, most beginners spend 60 to 120 dollars all in. A quarter-acre yard with many zones climbs toward 200 dollars or more, which is still cheap next to a summer of hand watering.
If some of the parts names here still feel slippery, keep a plain-language rundown of drip irrigation terms open while you shop. For water-saving product picks, the EPA WaterSense program is a solid, neutral reference, and many university extension offices, like the University of Arizona Cooperative Extension, publish free drip design guides for their climates.
Where to go from here
Take your notepad, walk your yard, and fill in every line of the checklist above. When each box has a real number or a clear yes-or-no answer, you are ready to order.
Do that, and your box on the porch will hold exactly the parts you need. No returns, no guessing, and a garden that gets watered the first weekend instead of the third.
Frequently asked questions
How do I measure my water pressure for drip irrigation?
Buy an inexpensive brass pressure gauge (about 10 to 15 dollars) that threads onto your outdoor spigot. Turn the water fully on and read the number in psi. Most homes read 40-80 psi, and since drip emitters want 15-30 psi, a reading over 40 means you need a pressure regulator.
What tubing size do I need for a beginner drip system?
Most home systems use two sizes together. Run 1/2 inch mainline as the backbone that carries water across your yard, then branch off with 1/4 inch microtubing to reach each individual plant. Measure the mainline path by walking it, and estimate 1 to 2 feet of 1/4 inch tubing per plant.
How much does a first drip irrigation system cost?
A small setup for one or two raised beds usually runs 60 to 120 dollars including tubing, emitters, a filter, and a timer. A larger yard with several watering zones can climb to 200 dollars or more. It is still far cheaper than a full season of hand watering.
Do I really need a filter and a backflow preventer?
Yes, and both are cheap insurance. A mesh filter (about 8 to 15 dollars) stops grit from clogging your emitters all season. A backflow preventer keeps garden water from flowing back into your drinking supply, and many local codes require one, so add both to your parts list.
How many emitters does each plant need?
It depends on plant size. A small pepper or annual is happy with a single 1 gph (gallon per hour) emitter, while a mature rose, shrub, or citrus tree may want two or three to spread water around the root zone. Count your plants by size group before ordering so the big ones do not stay thirsty.
Can I use drip irrigation on my whole yard, including the lawn?
Drip works beautifully for beds, vegetables, shrubs, and containers where plants sit in defined spots. A dense lawn or a broad meadow is usually watered better by sprinklers, since drip is not built to cover solid ground evenly. Match the method to the planting rather than forcing drip everywhere.