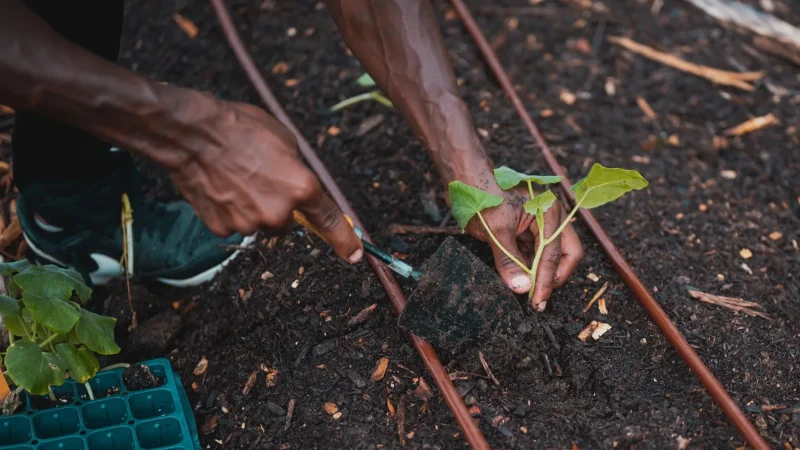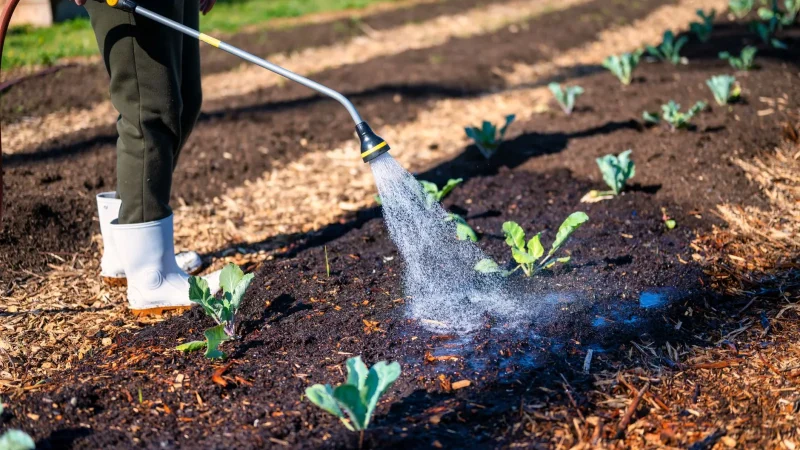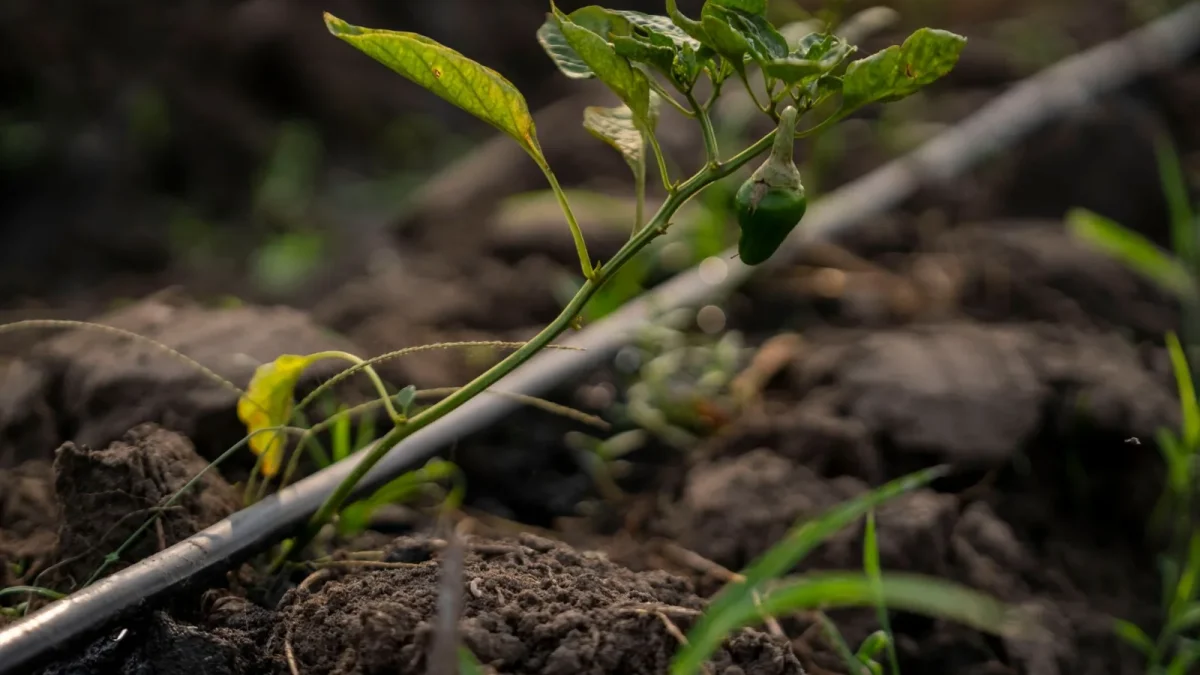
Last spring a neighbor called me over because his tomatoes were wilting despite a brand-new drip kit. He handed me the instructions, pointed at a line about “1 GPH pressure-compensating emitters on 1/4 inch spaghetti tubing,” and said, “Marisol, I have no idea what any of those words mean.”
He is not alone. The single biggest barrier I see for beginners is not the plumbing, it is the vocabulary.
Learning drip irrigation terminology up front saves you hours of confusion at the hardware store and keeps you from buying the wrong parts. So here is my plain-language glossary of the 20 terms you will bump into first, grouped so they actually make sense together.
Key takeaways
- Most drip irrigation terminology falls into a few buckets: water source parts, tubing, emitters, and pressure.
- GPH (gallons per hour) and psi (pounds per square inch) are the two numbers you will use most.
- Knowing what an emitter, a header line, and a pressure regulator do covers about 80 percent of any beginner kit.
Start at the water source
Every drip system begins where it taps into your water. These four terms describe that starting point.
Hose bib (or spigot): The outdoor faucet you screw your system onto. Most homes have one at 40-60 psi, which is far too strong for drip.
Backflow preventer: A small valve that stops dirty garden water from being sucked back into your drinking water. Many areas require one by code, and they run about 8 to 15 dollars.
Filter: A screen that catches grit before it reaches your tiny emitter openings. A 150-200 mesh filter is standard, and skipping it is the fastest way to clog a system.
Pressure regulator: This drops your home’s pressure down to something drip parts can handle, usually 25 or 30 psi. Without it, fittings pop off and emitters blow out.
Watch out
A mistake I see constantly is running drip straight off the spigot with no regulator. Household pressure can hit 60 psi or more, and drip tubing is rated for around 25-30 psi. Skip the regulator and you will be chasing blown fittings all summer.
The tubing that carries your water
Once water passes the filter and regulator, it travels through tubing. Beginners mix these terms up more than any others.
Mainline (or supply line): The larger 1/2 inch tubing that carries water from the faucet out to your garden beds. Think of it as the highway.
Header line: A section of mainline laid along the top of a row or bed, feeding several smaller lines that branch off it.
1/4 inch tubing (spaghetti tubing): The thin, flexible line that branches off the mainline to reach individual plants. It is called spaghetti because that is exactly what it looks like coiled up.
Distribution tubing: A catch-all name for the smaller tubing that distributes water from the mainline to plants.
Fittings: The connectors that join tubing together: tees, elbows, couplers, and end caps. If you want a clear breakdown of how these pieces fit together, our guide to the core parts of a drip system lays them out one by one.
Quick tip
Buy a couple extra tees and elbows when you shop. You will almost always need one more than you planned, and a second trip to the store for a 40-cent part is nobody’s idea of a good afternoon.
Emitters: where the water actually drips
This is the heart of drip, and the term newcomers ask about most.
Emitter (or dripper): The small device that releases water slowly, drop by drop, at a plant’s root zone. This slow release is the whole point of drip.
GPH (gallons per hour): How much water an emitter puts out in an hour. Common ratings are 0.5, 1, and 2 GPH. A young pepper plant might get a single 1 GPH emitter, while a shrub might get two or three.
Pressure-compensating (PC): Emitters that deliver the same flow whether they sit at the start of a line or 50 feet down, and even on a slope. On flat ground they matter less, but on my hillside installs in Tucson they are non-negotiable.
Inline emitter tubing (emitter line): Tubing with emitters built in at set spacing, often every 6, 12, or 18 inches. It is my favorite tool for straight vegetable rows because you just lay it down and go.
Micro-sprayer (or micro-spray): A tiny sprinkler head that covers a wider area than a single drip. Handy for dense groundcover, but it loses more water to evaporation than a true emitter.
| Emitter type | Best for | Typical flow |
|---|---|---|
| Point-source dripper | Individual shrubs, trees, pots | 0.5 to 2 GPH |
| Inline emitter tubing | Vegetable rows, hedges | 0.5 to 1 GPH per emitter |
| Micro-sprayer | Groundcover, seedbeds | 5 to 20 GPH |
Pressure, flow, and scheduling terms
These numbers-based terms decide whether your system works or sputters.
psi (pounds per square inch): The measure of water pressure. Drip likes 15-30 psi. Too high and things burst, too low and far emitters barely drip.
Flow rate: The total water your whole system uses per hour, found by adding up every emitter’s GPH. If you have 50 emitters at 1 GPH each, your flow rate is 50 GPH.
Zone: A group of plants watered together on one valve or one run of tubing. Grouping thirsty plants in one zone and desert natives in another keeps everyone happy.
Timer (controller): The device that turns your water on and off automatically. A basic battery hose-end timer costs about 25 to 40 dollars and handles most home gardens.
Run time: How long a zone waters in one session, often 30-60 minutes for drip since the flow is so slow.
Good to know
Flow rate is why big systems get split into zones. Your faucet can only push so much water at once. If your total flow rate outruns your supply, the last plants on the line go thirsty, a problem I cover in our roundup of common beginner planning mistakes.
Putting the words to work
Let me show you how these connect with a quick scenario. Say you want to water six tomato plants along a raised bed.
- Screw a backflow preventer, filter, and pressure regulator onto the hose bib.
- Run 1/2 inch mainline to the bed as a header line.
- Branch 1/4 inch tubing to each plant, ending in a 1 GPH pressure-compensating emitter.
- Set your timer for a 45-minute run time, three mornings a week.
That is it. Six terms doing real work, and you have a functioning zone.
When I first started, I kept a scribbled cheat sheet of these words taped inside my truck toolbox. Within a season they became second nature, and they will for you too. The U.S. EPA’s WaterSense program and the University of Arizona Cooperative Extension both offer solid, jargon-light guides if you want to keep reading.
Where to go from here
You now have the working vocabulary to read a kit’s instructions without that sinking feeling my neighbor had.
Next, I would point you toward our beginner’s guide to drip irrigation to see these parts assembled into a full system, or the step-by-step look at how drip actually moves water if you like understanding the why behind each piece.
Keep this glossary handy, and pretty soon words like GPH and pressure-compensating will roll off your tongue at the hardware counter.
Frequently asked questions
What does GPH mean in drip irrigation?
GPH stands for gallons per hour, the amount of water an emitter releases in one hour. Common ratings are 0.5, 1, and 2 GPH. A small vegetable plant usually needs a single 1 GPH emitter, while larger shrubs may need two or three.
Do I really need a pressure regulator for drip?
Yes, in almost every case. Home faucets often run at 40-60 psi, but drip tubing and emitters are rated for around 25-30 psi. Without a regulator, fittings pop off and emitters can blow out. A regulator costs only about 6 to 12 dollars and saves a lot of frustration.
What is the difference between 1/2 inch and 1/4 inch tubing?
The 1/2 inch tubing is your mainline, carrying water from the faucet to your beds like a highway. The 1/4 inch tubing, often called spaghetti tubing, branches off the mainline to reach individual plants. Most home systems use both together.
What is a pressure-compensating emitter?
A pressure-compensating (PC) emitter delivers the same flow no matter where it sits on the line or how much the ground slopes. On flat ground with short runs they matter less, but on slopes or long rows they keep every plant getting equal water.
How long should a drip zone run each time?
Drip run times are usually 30-60 minutes per zone because the water flows so slowly and soaks deep. The exact time depends on your soil, plants, and emitter flow rate. Watering deeply a few times a week beats short daily bursts for most gardens.
What is a zone in a drip system?
A zone is a group of plants watered together on one valve or one run of tubing. Splitting a garden into zones lets you group plants with similar water needs and keeps your total flow rate within what your faucet can supply.