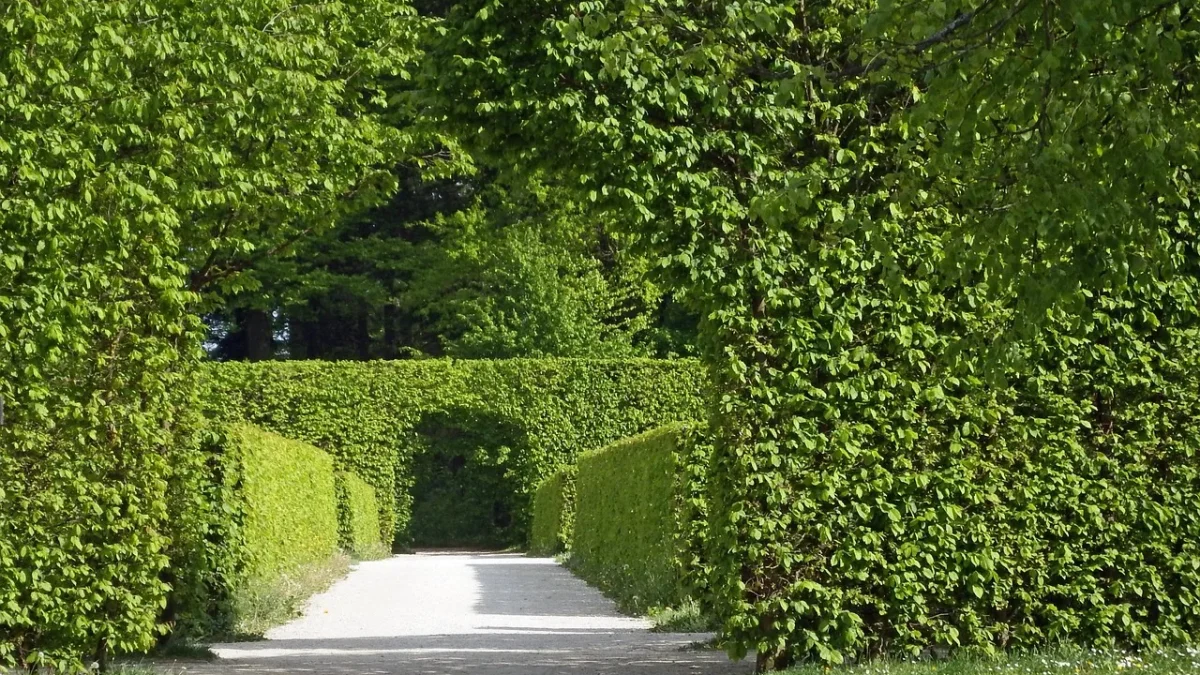
Last spring a neighbor asked me why the third boxwood in her new hedge was half the size of the others. The answer was sitting right there in the dirt: a single spray head trying to cover six plants, throwing most of its water on the two closest to it. The far ones were starving.
That is the problem inline emitter tubing solves. Instead of one point trying to reach everyone, you run a line with emitters built in at set intervals, so water lands evenly along the whole row. For drip watering shrubs and hedges, this is the single best upgrade you can make.
I have installed this setup on privacy hedges, foundation plantings, and long rows of oleander here in Tucson. It is not complicated, but the spacing details matter more than most beginners expect.
Key takeaways
- Inline emitter tubing (also called dripline) has emitters spaced along the tube, so every shrub in a run gets equal water.
- Match emitter spacing to your soil: 12 inches apart for clay, 18 inches for loam, and closer, around 9 inches, for sandy soil.
- Run two parallel lines along a hedge once plants mature to wet a wider root zone and encourage deep roots.
- Water longer and less often to push roots down, which is what makes a hedge tough long term.
Why inline dripline beats individual emitters for a hedge
You can water shrubs with individual emitters, little buttons you punch into 1/4 inch tubing at each plant. That works fine for three or four specimen shrubs spread around a yard.
A hedge is different. It is a continuous row, often planted 18 to 36 inches apart, and the roots knit together over time. You want a continuous band of moisture, not isolated wet spots.
Inline emitter tubing gives you that band. The emitters are molded into the 1/2 inch tubing at even intervals, usually 12 or 18 inches, and each one puts out a steady flow, commonly 0.6 or 0.9 gallons per hour (GPH). Lay it down the row and the wetted zones overlap into one long strip.
Quick tip
Buy dripline with the emitter spacing already matched to your plant spacing when you can. A roll of 12-inch-spaced 0.9 GPH tubing runs about 40 to 60 dollars for 100 feet and saves you punching hundreds of emitters by hand.
Choosing emitter spacing for your soil
Here is where people go wrong. They pick spacing based on where the plants are, when they should pick it based on how water moves through their dirt.
Water spreads sideways differently in different soils. In clay, it moves out wide and slow, so emitters can sit farther apart. In sand, it drops almost straight down, so you need them close together or you get dry gaps between wet columns.
| Soil type | Emitter spacing | Why |
|---|---|---|
| Sandy | 9 inches | Water sinks fast and spreads little sideways |
| Loam | 18 inches | Balanced spread, wetted patterns overlap easily |
| Clay | 12 inches | Water spreads wide but infiltrates slowly |
Not sure what you have? Dig a small hole, wet it, and watch. If water pools and sits, you are on clay. If it vanishes in seconds, sand. Most garden loam is somewhere in between.
Laying out the tubing along the run
Start by connecting your 1/2 inch dripline to your water source through a pressure regulator and a filter. Shrub dripline is happiest at 15-25 psi (pounds per square inch, a measure of water pressure). Household pressure often runs 50-70 psi, which will blow fittings apart, so a regulator is not optional.
For a young hedge, one line down the row, running along the base of the plants, is enough. Pin it every 3 to 4 feet with galvanized landscape staples so it does not wander.
- Run the dripline about 2 to 3 inches out from the main stems, not right against the trunk.
- Stake it down every few feet, keeping the tube straight and snug to the soil.
- Cap the far end with a figure-eight end closure or a flush valve.
- Turn it on and walk the line, checking that every emitter drips.
Watch out
Do not bury dripline more than an inch under mulch on a fresh install. You want to see it working for the first few cycles. Roots and gophers both love finding a buried line, and a hidden clog can kill a plant before you notice.
Going to two lines as the hedge matures
This is the part that gives you a hedge that shrugs off a heat wave. As shrubs grow, their roots spread past the original single line.
Once plants are established, usually after the first full growing season, add a second parallel dripline on the other side of the row, about 12 to 18 inches from the first. Now you are wetting a wide band under the whole hedge, and roots chase that water outward and down.
A mistake I see constantly: people keep watering a mature hedge on the exact same single line they installed on planting day. The plant outgrew that line years ago, and the outer roots never get a drink.
Good to know
Two lines also build in redundancy. If one emitter clogs, the plant is still getting water from the parallel line while you sort out the fix. On a long, expensive privacy hedge, that insurance is worth the extra tubing.
How long and how often to run it
The goal with shrubs is deep, infrequent watering. Deep roots make a plant drought-tough and wind-firm, and you only get deep roots by wetting the soil well below the surface, then letting the top dry before the next run.
For a new hedge in loam with 0.9 GPH emitters spaced 18 inches apart, I usually start at 45 to 60 minutes, two or three times a week. That soaks the root ball without keeping it soggy.
As roots go deeper, stretch the interval, not the run time. Move to once or twice a week, then in cooler months once every week or two. Watering schedules shift a lot by plant and season, and the same deep-and-slow logic that guides a drip watering schedule by plant type applies squarely to shrubs.
Check your work with a screwdriver. Push it into the soil an hour after a run. If it slides in easily to 8 or 10 inches, you watered deep enough. If it stops at 3 inches, run longer.
A quick real-world scenario
Say you have a 30-foot row of dwarf yaupon holly in clay soil. You would run 30 feet of 0.9 GPH dripline with 12-inch emitter spacing, which gives you 30 emitters putting out 27 GPH total.
A one-hour run delivers about 27 gallons across the row, roughly 0.9 gallon per plant if they are spaced a foot apart. In clay, I would run 60 minutes twice a week to start, watching that screwdriver test, then back off to once a week as they establish.
Vegetables need a very different rhythm than woody shrubs, which is why the fast, frequent cycles used for watering leafy greens with drip would drown a hedge if you copied them.
Maintenance that keeps the line honest
Dripline is low fuss, but not no fuss. Minerals and grit are the enemies.
- Flush the line once a month by opening the end cap and letting it run 30 seconds to clear sediment.
- Clean or rinse your filter every few weeks during heavy-use season.
- Walk the run each month and look for dry spots that signal a clogged emitter.
- Before winter in cold climates, drain the lines so they do not crack.
The plumbing skills carry over to your whole yard. Learning to read flow and spacing on a hedge makes it easy to set up beds of thirstier crops, whether that is drip watering for peppers or a sprawling patch that needs the wider coverage covered in this guide to drip irrigation for cucumbers and squash.
For general system sizing and water-saving practices, the EPA WaterSense watering tips are a solid reference, and most university extension programs, like the University of Arizona Cooperative Extension, publish regional guides worth reading for your climate.
Where to go from here
Get the single line down first, water deep, and watch how your shrubs respond over a few weeks. Once they settle in, add that second line and start stretching the days between waterings.
Do those two things, spacing the emitters to your soil and going deep instead of often, and your hedge will fill in even and hold up for years. That struggling boxwood my neighbor had? One line of dripline later, it caught up to its siblings by fall.
Frequently asked questions
How far from the shrub trunk should I place drip tubing?
Run the line about 2 to 3 inches out from the main stem, not right against the trunk. Water pooling at the base of woody stems invites rot and crown disease. As the plant matures, the ideal wetting zone moves outward toward the drip line of the canopy, which is why a second parallel line helps.
Can I use one dripline for an entire long hedge?
For a young hedge, yes, a single 1/2 inch inline dripline down the row works well. As the shrubs mature and their roots spread, add a second parallel line to wet a wider band. On very long runs check that your water pressure and flow can supply every emitter evenly, and split into zones if the far end drips weakly.
How many gallons per hour do shrub emitters need?
Most inline dripline for shrubs uses 0.6 or 0.9 GPH emitters. The 0.9 GPH size suits clay and loam where you want a good soak, while lower flow rates suit sandy soil to avoid runoff. Total flow is the per-emitter rate times the number of emitters, so count them to size your system.
How do I know if I am watering deep enough?
Push a long screwdriver into the soil about an hour after a watering cycle. It slides easily through moist soil and stops where the dry soil begins. If it reaches 8 to 10 inches, you are watering deep enough for shrubs. If it stops shallow, extend the run time rather than watering more often.
What pressure should shrub dripline run at?
Inline emitter tubing for shrubs works best at 15-25 psi. Household water pressure often runs 50-70 psi, which will pop fittings and stress emitters, so install a pressure regulator between your faucet and the dripline. Add a filter too, since grit is the most common cause of clogged emitters.
Should I bury the dripline or leave it on top of the soil?
Lay it on the soil surface and cover it with mulch rather than burying it deep. Surface placement lets you spot clogs, leaks, and dry spots easily. A light layer of mulch over the tube reduces evaporation and protects it from sun without hiding problems from view.