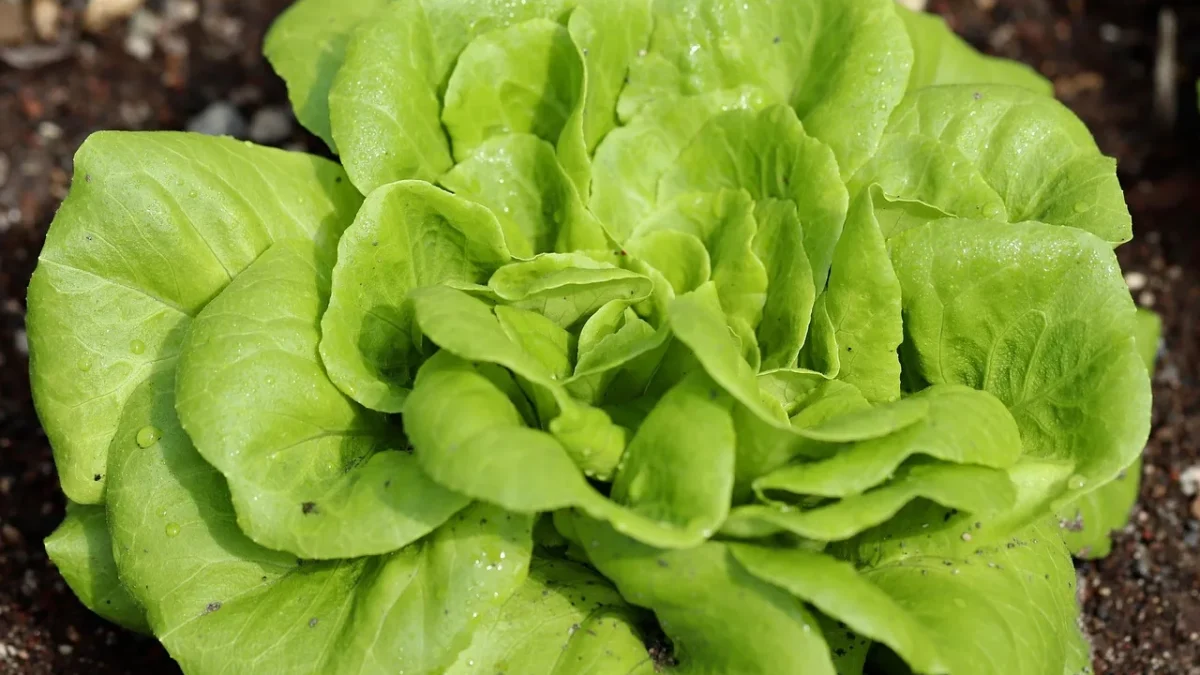
Last spring a neighbor called me over to look at her lettuce bed. The leaves were flopping, the edges had brown crispy tips, and half the row smelled faintly like a pond. She had been running her drip system once a day for 30 minutes, soaking the soil deep and letting it dry out completely between waterings. For tomatoes, that would be fine. For lettuce, it was a slow death.
Leafy greens are their own animal. Their roots sit shallow, usually in the top 6 inches of soil, and they bolt or turn bitter the moment they get stressed. The trick to drip watering leafy greens is not more water. It is smaller, more frequent sips delivered right to the soil so the leaves stay dry and the root zone never swings from soaked to bone dry.
I have installed and repaired drip systems in the Tucson desert for 12 years, and greens are one of the most common crops people get wrong. The good news is the fix is simple and cheap.
Key takeaways
- Water shallow and often: short 5-10 minute cycles keep the top 6 inches evenly moist for lettuce and spinach.
- Keep water off the leaves. Wet foliage invites rot and mildew, so use emitters at the soil, not spray.
- Low-flow emitters (0.5-1 gph) at 10-20 psi give you gentle, even coverage that shallow roots love.
- Mulch and morning watering do half the work for you by holding moisture and letting any stray drops dry fast.
Why leafy greens need a different drip approach
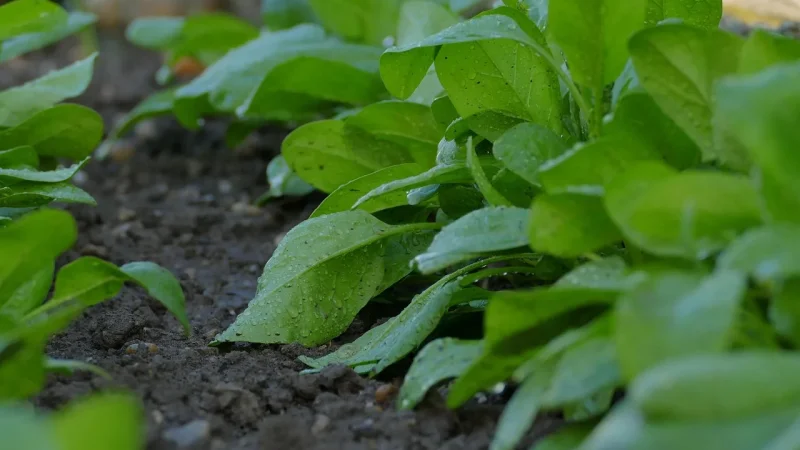
Lettuce, spinach, arugula, kale, chard: these plants live close to the surface. Unlike a tomato that sends a taproot down a foot or more, most salad greens keep 80 percent of their roots in that top layer of soil. That shallow root zone dries out fast, especially in raised beds or containers.
So the rhythm that works for deeper crops backfires here. A single long soak pushes water below where the roots can reach, then the surface bakes dry by afternoon. The plant gets thirsty, stress kicks in, and you get bitter leaves or a bolting spinach plant that shoots up a flower stalk and quits.
The other issue is the leaves themselves. Greens grow in a tight rosette or a low bunch, so overhead watering or a leaky spray head keeps moisture trapped between the leaves. That is a perfect home for bottom rot and downy mildew.
Good to know
Downy mildew is a fungal disease that shows up as yellow patches on top of leaves and fuzzy gray growth underneath. It spreads on wet foliage. Dry leaves are your best defense, which is exactly what drip gives you.
Set up your drip lines for shallow, even watering
You want water landing at the soil surface, spread evenly across the bed, with nothing splashing up onto the leaves. Here is the setup I install for greens beds again and again.
Start with 1/2 inch mainline tubing (the thicker black poly tube that carries water from your hose) running along the edge of the bed. Off that, I run 1/4 inch drip line (the skinny tubing) or inline drip tubing with emitters spaced every 6 inches. Greens are planted close together, so tight emitter spacing matters more here than with widely spaced crops.
For emitters, go low flow. I use 0.5 to 1 gallon per hour (gph) emitters for greens. Low flow means the water has time to soak in sideways instead of pooling and running off, which keeps the whole root zone evenly damp.
Quick tip
Run your greens zone at 10-20 psi (pounds per square inch, a measure of water pressure). Most drip emitters are designed for this low range. If your line hisses, sprays, or blows off fittings, add a pressure regulator. A basic 25 psi regulator costs about 8 to 12 dollars and saves you constant repairs.
A mistake I see constantly is people using the same emitter flow and spacing across the whole garden. Your peppers and your lettuce have completely different root depths and planting densities. If you are laying out beds by crop, my guide on matching drip run times to each plant type walks through why greens, fruiting crops, and roots each want their own zone.
How often and how long to run the cycles
This is where greens really break from the usual rules. Instead of one long deep soak, you want short and frequent.
My default starting point for an established lettuce or spinach bed with 1 gph emitters: 5 to 10 minutes, twice a day in warm weather, once a day when it is cool. In peak summer heat here in Tucson, I sometimes go to three short cycles. The goal is to keep that top 6 inches consistently moist, never soggy, never dust dry.
Newly seeded beds need even lighter, more frequent water. Seeds sit in the top inch and cannot handle drying out, so I run 3 to 5 minutes several times a day until they sprout, then back off as roots go deeper.
| Growth stage | Run time per cycle | Cycles per day (warm weather) |
|---|---|---|
| Just seeded | 3-5 minutes | 3-4 short cycles |
| Seedlings, first 2 weeks | 5 minutes | 2-3 cycles |
| Established greens | 5-10 minutes | 2 cycles |
| Cool or cloudy days | 5-10 minutes | 1 cycle |
These are starting points, not gospel. Soil, sun, and container versus in-ground all shift the numbers. Check the soil with your finger: push it in an inch or two. If it feels like a wrung-out sponge, you are on target. If it is muddy, cut back. If it is dry past the first knuckle, add a cycle.
Watch out
Do not water greens deep and infrequent to “train the roots down.” That advice works for tomatoes and shrubs, not shallow salad crops. Let a spinach bed dry out hard between soaks and you will get bolting and bitterness within days.
Timing, mulch, and keeping leaves dry
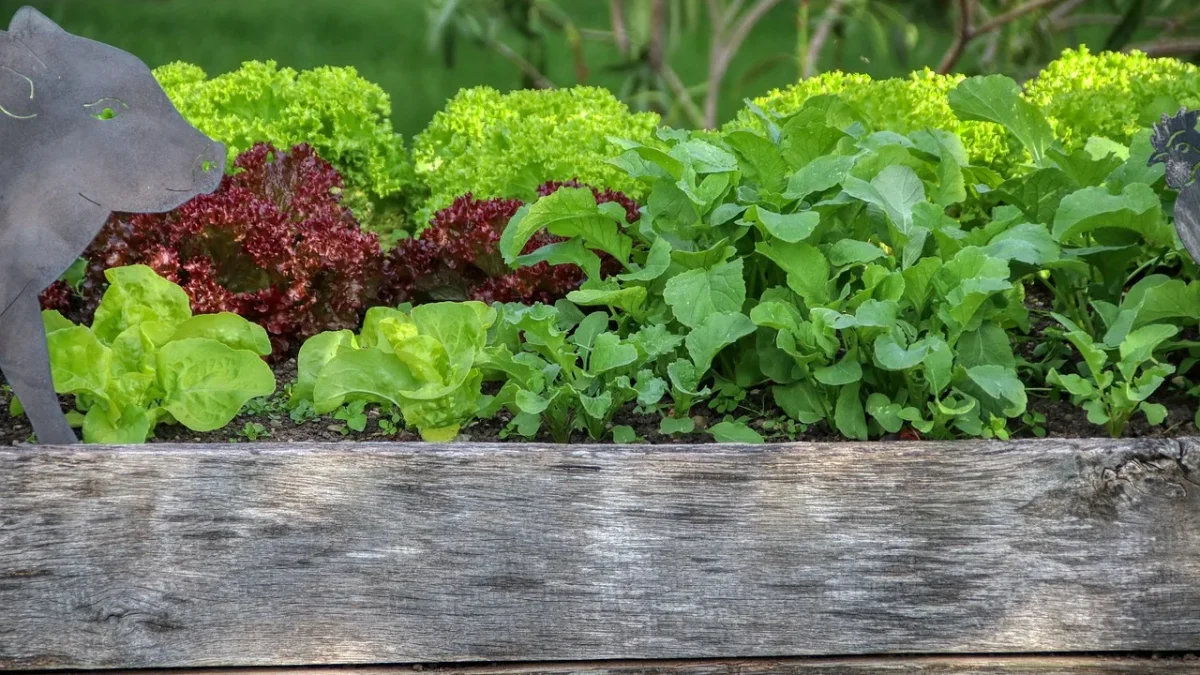
Water in the early morning whenever you can. Morning watering means any stray droplets that hit a leaf dry off within an hour or two as the sun comes up. Evening watering leaves foliage damp overnight, which is when fungal problems take hold.
Mulch is the other half of the equation. A 1 to 2 inch layer of straw or shredded leaves over the soil holds moisture between cycles and stops water from splashing up onto lower leaves. It also keeps the soil cooler, which greens love.
Because greens live in tight rows, raised beds are a natural fit for them, and the layout of your drip lines matters. If you grow in beds, my walkthrough on laying out drip tubing and timing for raised beds covers spacing and zoning that pairs well with the short-cycle approach here.
A quick real-world example
Picture a 4 by 4 foot raised bed of romaine and spinach. I run three lines of inline 1/4 inch tubing across it, emitters every 6 inches, 0.5 gph, fed by a 1/2 inch mainline and a 20 psi regulator. Total parts cost was under 25 dollars. The timer runs 8 minutes at 6 a.m. and 8 minutes at 4 p.m. in summer. The bed stays crisp, the leaves stay dry, and I have not seen mildew in that bed in two seasons.
A simple setup checklist
- 1/2 inch mainline tubing along the bed edge, capped at the far end.
- Pressure regulator (10-25 psi) and a filter between hose and mainline.
- Low-flow emitters, 0.5-1 gph, spaced every 6 inches for close plantings.
- A battery timer set for two short cycles, morning and late afternoon.
- 1-2 inches of straw or leaf mulch over the whole bed.
- Finger-check the soil at week one and adjust run time up or down.
If you want to sanity check your pressure and flow choices against a manufacturer reference, Drip Depot’s emitter specs lay out flow rates clearly, and EPA WaterSense has solid guidance on smart controllers if you want to automate those multiple daily cycles.
Where to go from here
Once your greens are dialed in, the same low-pressure system can feed the rest of the garden with a few tweaks per crop. Fruiting plants want deeper, less frequent water than your lettuce ever will, so it is worth reading up on how to water tomatoes on drip and the different timing and amounts peppers need before you copy your greens schedule over.
Start with the short-cycle rhythm, keep the leaves dry, and let your finger in the soil be the final judge. Crisp lettuce is mostly about consistency, and drip makes consistency easy once the parts are in the ground.
Frequently asked questions
How often should I water lettuce and spinach on a drip system?
For established greens in warm weather, run two short cycles a day, about 5 to 10 minutes each with 1 gph emitters. In cool or cloudy conditions, once a day is usually enough. The goal is to keep the top 6 inches of soil evenly moist without ever soaking it or letting it dry out completely.
Why are my drip-watered greens still getting brown leaf tips?
Brown, crispy edges usually mean the root zone is swinging between wet and dry, which stresses shallow-rooted greens. Switch from one long soak to several short cycles so the soil stays consistently damp. Adding a couple inches of mulch also helps hold that moisture between waterings.
What emitter flow rate is best for leafy greens?
Low-flow emitters in the 0.5 to 1 gallon per hour range work best. The slower flow gives water time to spread sideways and soak the shallow root zone evenly instead of pooling and running off. Space them every 6 inches since greens are planted close together.
Can I use the same drip schedule for greens and tomatoes?
No, and this is a common mistake. Tomatoes have deep roots and want infrequent, deep soaks, while lettuce and spinach have shallow roots that need short, frequent sips. Running the tomato schedule on greens leads to bolting and bitter leaves, so give them separate zones or timer settings.
Should I worry about wetting the leaves with drip irrigation?
Drip is chosen partly because it keeps foliage dry, which prevents rot and mildew. Keep emitters at the soil surface, not spraying, and add mulch so water does not splash up onto lower leaves. Watering in the early morning lets any stray droplets dry quickly.
What water pressure should my greens drip zone run at?
Most drip emitters are designed for 10 to 20 psi. If your lines hiss, spray, or pop off fittings, your pressure is too high. A basic pressure regulator costs about 8 to 12 dollars and gives you the gentle, even output that shallow-rooted greens need.