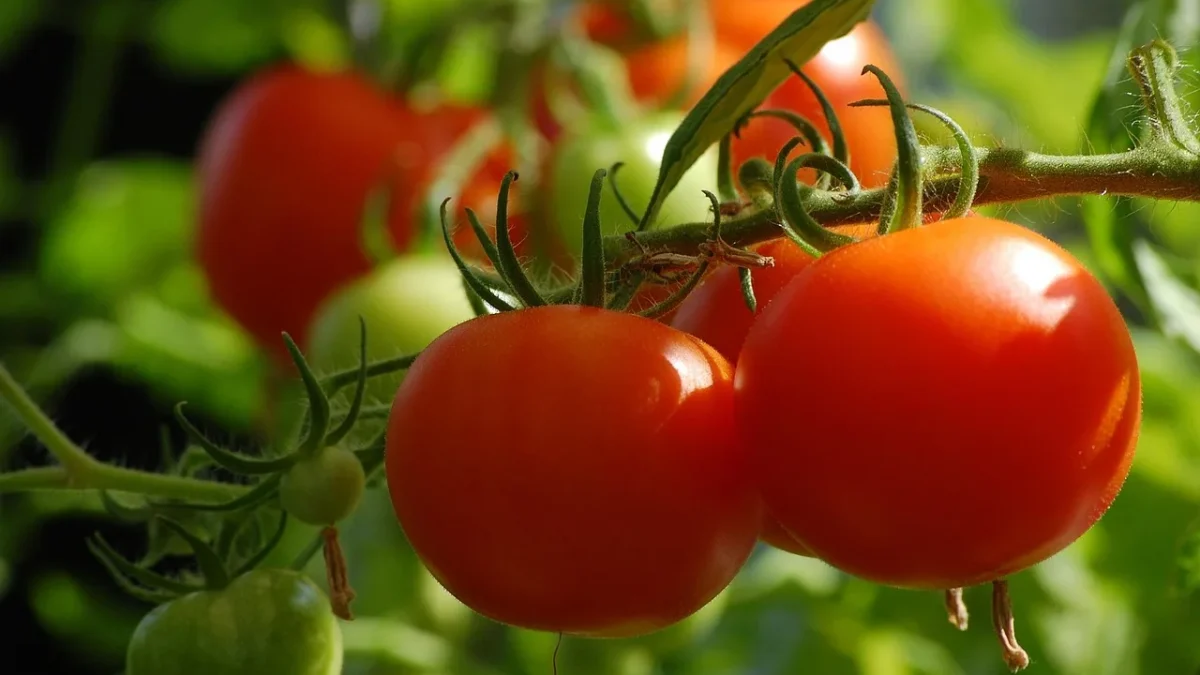
Last summer a neighbor knocked on my door holding a tomato that had split right down the side, skin peeled back like a book. “I water every single day,” she said, half proud, half frustrated. That daily splash was exactly the problem. Her tomatoes were getting frequent, shallow sips instead of the deep, spaced-out soak they actually want.
If you want to water tomatoes with drip and get firm, crack-free fruit, the trick is matching where the water lands and how long it runs to what the roots are doing at each stage. Tomatoes send roots down 18 to 24 inches when you let them, and a good drip setup rewards that reach.
I have installed and fixed these systems around Tucson for 12 years, and tomatoes are the plant people ask me about most. Let me walk you through it the way I would if we were standing in your garden.
Key takeaways
- Place emitters 4 to 6 inches from the stem at transplant, then add a second emitter on the far side as the plant grows.
- Water deeply and less often: aim for the top 18 to 24 inches of soil to get moist, not the surface.
- Increase run time through flowering and fruit set, then keep it steady and even to prevent cracking and blossom end rot.
- A pressure regulator (20-25 psi) and 1/2 inch main tubing with 1/4 inch feeder lines cover most home beds.
Start with the right gear and pressure
Most drip parts run on low pressure. Standard home water comes in around 40 to 60 psi (pounds per square inch, a measure of water pressure), and that is too high for drip emitters, which want roughly 20 to 25 psi.
Add an inexpensive pressure regulator right after your timer, usually 8 to 12 dollars. Skip it and you will pop fittings and blow emitters off the line, which I promise is not the fun kind of surprise on a hot afternoon.
For layout, I use 1/2 inch poly tubing as the main line running down the row, then punch in 1/4 inch tubing or press-in emitters where each plant sits. If you are still choosing where everything goes, our notes on planning a raised bed drip layout and timing will save you some guesswork before you cut any tubing.
Good to know
GPH means gallons per hour, the rated flow of an emitter. A 1 GPH emitter puts out one gallon over a full hour of run time, so two 1 GPH emitters per plant deliver two gallons per hour combined.
Emitter placement by growth stage
This is the part most guides skip, and it matters more than any timer setting. Where you put the emitters decides where the roots grow.
At transplant
Set one emitter 4 to 6 inches from the stem, never right against it. Water touching the stem all day invites rot. At this stage a single 1 GPH emitter is plenty, because the root ball is small and you want moisture close but not drowning.
Three to four weeks in
Now the roots are spreading, so add a second emitter on the opposite side of the plant, again 4 to 6 inches out. Two emitters on either side pull roots outward and down, which builds a sturdier plant that can hunt for water between cycles.
Mature plants and cages
By the time your tomato fills its cage, I like two 1 GPH emitters, or bump to 2 GPH each in fast-draining sandy soil. The goal is a wet zone about 12 inches wide and 18 inches deep under the plant.
Watch out
A mistake I see constantly is one emitter jammed against the stem and cranked for a short burst every day. That keeps the surface soggy and the deep roots thirsty, which is a fast track to blossom end rot and splitting fruit.
Run times tuned to root depth
Deep and infrequent beats shallow and daily, every time. You want water reaching that 18 to 24 inch root zone, then a dry-down period that pulls roots down chasing it.
Here is a starting schedule I hand to beginners. Adjust for your soil and heat, then check with a trowel.
| Stage | Emitters per plant | Run time and frequency |
|---|---|---|
| Transplant (weeks 1-3) | 1 x 1 GPH | 30-45 min, every 2-3 days |
| Vegetative growth | 2 x 1 GPH | 45-60 min, every 3 days |
| Flowering and fruit set | 2 x 1 GPH | 60-90 min, every 2-3 days |
| Peak summer harvest | 2 x 1-2 GPH | 60-90 min, every 2 days |
To check depth, run the system, wait an hour, then push a screwdriver or trowel into the soil near the emitter. If it slides easily to about 8 inches, moisture is getting down there. If it stops short, add 15 minutes and test again.
Quick tip
Water in the early morning, ideally before 8 a.m. Roots take up water while it is cool, and any surface moisture dries before midday heat, which cuts down on fungal trouble.
Adjusting through fruit set
Consistency is everything once flowers turn into fruit. Tomatoes crack when a dry spell is followed by a big drink, because the fruit swells faster than its skin can stretch.
The fix is steady run times, not bigger ones. Resist the urge to double your watering the day you see fruit. Instead, keep the interval even and let the plant settle into a rhythm.
Blossom end rot, that sunken brown patch on the bottom of the fruit, usually traces back to uneven moisture blocking calcium uptake, not a lack of calcium in the soil. A reliable drip schedule solves it far more often than any spray. The University of Minnesota Extension has a clear rundown on this in their guide to growing tomatoes.
Peppers behave a lot like tomatoes here, so if you grow both, the approach in our drip timing and amounts for peppers will feel familiar and let you run them on similar zones.
A quick real-world scenario
Picture a single indeterminate cherry tomato in an Arizona raised bed in July. Soil is a sandy loam that drains fast, days are hitting 105.
I would run two 2 GPH emitters, 5 inches out on each side, for 75 minutes every other morning. That is about five gallons per session reaching down past a foot. On a rare mild stretch I stretch the interval to every third day rather than shortening each run.
That plant produces steadily into fall, and the fruit stays whole. Same plant on daily 10 minute cycles would give me split skins and half the harvest.
A simple weekly check
Ten minutes a week keeps a drip system honest. Here is my routine.
- Walk the line while it runs and watch each emitter actually drip.
- Poke the soil near two or three plants to confirm moisture at 8 inches.
- Wipe or replace any emitter that is clogged or spraying sideways.
- Look for cracked fruit or blossom end rot as a signal to even out timing.
- Adjust run time as the heat climbs or eases, not the frequency first.
Emitters clog eventually, especially with hard water. A clogged one costs about 25 cents to swap, so keep a small bag of spares in the shed.
Where to go from here
Once your tomatoes are dialed in, the same thinking carries across the garden with small tweaks per crop. Leafy crops want shallower, more frequent water, which you can see laid out in our best practices for watering leafy greens with drip.
For a full-garden view, the drip watering schedule by plant type shows how tomatoes fit alongside everything else on shared zones. Start with the numbers here, keep your trowel handy, and let what you dig up tell you the rest. Your plants will show you when you have it right.
Frequently asked questions
How often should I water tomatoes with drip irrigation?
Deep and infrequent is the goal. For mature plants, run the system 60 to 90 minutes every 2 to 3 days in warm weather, and stretch the interval rather than shortening runs when it cools. Always check soil moisture at about 8 inches with a trowel before adjusting.
How many emitters does one tomato plant need?
Start with a single 1 GPH emitter at transplant, then add a second on the opposite side after 3 to 4 weeks. Mature plants do well with two emitters, and you can move up to 2 GPH each in fast-draining sandy soil. The aim is a wet zone roughly 12 inches wide and 18 inches deep.
Why are my tomatoes cracking even though I water daily?
Cracking usually comes from uneven moisture, where a dry spell is followed by a heavy drink and the fruit swells faster than its skin. Daily shallow watering keeps the surface wet while deep roots stay dry, which makes it worse. Switch to deeper, evenly spaced watering and keep run times steady through fruit set.
Should tomato emitters touch the stem?
No. Place emitters 4 to 6 inches from the stem so water spreads into the root zone instead of pooling against the base. Water sitting on the stem all day invites rot and does not reach the outer roots you want to develop.
What pressure and tubing size work best for tomato drip?
Add a pressure regulator to bring standard 40 to 60 psi household pressure down to about 20 to 25 psi that emitters want. Most home beds run well on 1/2 inch main poly tubing with 1/4 inch feeder lines or press-in emitters at each plant. A regulator costs about 8 to 12 dollars and prevents blown fittings.
Can drip irrigation prevent blossom end rot on tomatoes?
Often, yes. Blossom end rot is usually caused by uneven moisture that interrupts calcium uptake rather than a true calcium shortage in the soil. A steady, consistent drip schedule that keeps the root zone evenly moist prevents it far more reliably than calcium sprays.