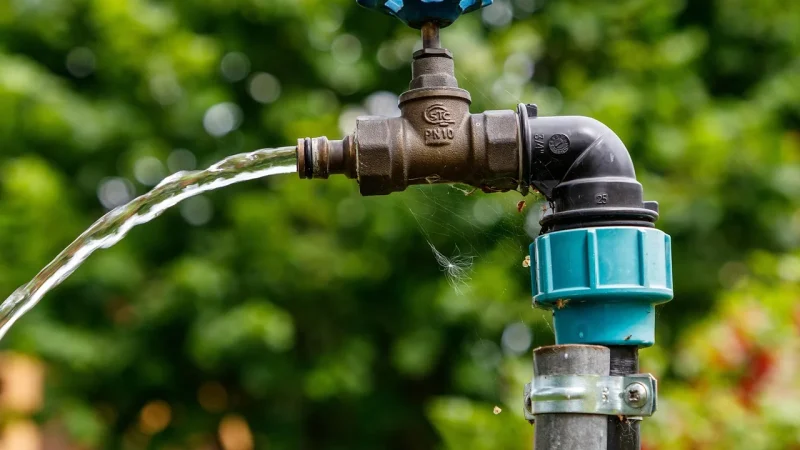
Last summer a neighbor called me over because her brand-new timer was “broken.” Water was spraying sideways from the faucet, her petunias were half-drowned, and she was ready to return the whole thing. The timer was fine. She had cross-threaded it onto the spigot and skipped the washer check, so it never sealed.
That fifteen-minute fix taught me something I repeat to every beginner: most timer problems are setup problems, not product problems. If you learn to set up a hose tap timer carefully the first time, you save yourself a season of puzzling leaks.
So let me walk you through it the way I would if I were standing at your faucet with you.
Key takeaways
- Check your outdoor faucet threads and water pressure before you attach anything.
- Hand-thread the timer straight and slow to avoid cross-threading, then snug it a quarter turn.
- Test for leaks with the timer running open before you ever connect the drip line.
What you need before you start
Gather your parts first so you are not walking back to the garage mid-job. It saves time and keeps you from leaving a connection half-tight.
- Your hose-end tap timer (a timer that screws directly onto the faucet)
- A garden hose washer, the rubber ring that sits inside the connector
- Plumber’s tape, also called PTFE or Teflon tape
- A pressure gauge if you have one (a $10 part that screws onto any hose bib)
- A rag and, in hard-water areas like mine, a splash of vinegar
Most hose-end timers cost between $25 and $60. Spend a few dollars more for one with a real filter screen inside, because grit is the number one killer of these little valves.
Step 1: Inspect and clean the faucet threads
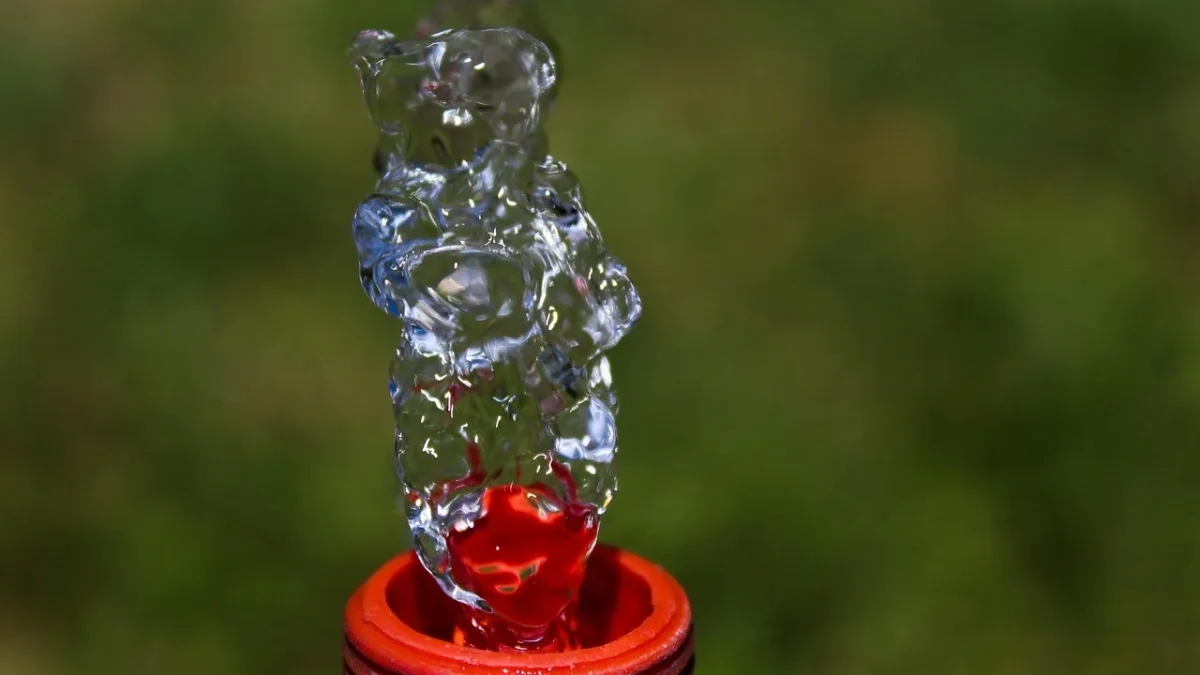
Look at the male threads on your spigot. If they are crusted with white mineral scale or old tape, wipe them clean with a rag. In Tucson our water leaves chalky buildup, so I keep a vinegar-dampened rag handy to dissolve it.
Run the faucet for five seconds to flush out any dirt or spider nests. You would be surprised what lives inside a spigot that sat unused all winter.
Watch out
Damaged or corroded threads will never seal, no matter how much tape you add. If the threads look chewed up, replace the spigot or add a brass repair coupling before you go further.
Step 2: Check your water pressure
This step gets skipped constantly, and it matters more than people think. Most drip systems want between 25 and 40 psi (pounds per square inch), while a typical house hose bib runs 40 to 80 psi.
Screw your pressure gauge onto the faucet, open it fully, and read the number. If it reads above 50 psi, plan on adding a pressure regulator downstream of the timer, because high pressure will blow 1/4 inch tubing right off its fittings.
If you want a deeper look at matching a timer to your setup, my guide on how to choose a drip irrigation timer covers pressure ratings and flow limits in more detail.
Step 3: Add the washer and plumber’s tape
Peek inside the timer’s inlet where it will meet the faucet. There should be a black rubber washer seated in the bottom. If it is missing or looks cracked, drop in a fresh one. This washer, not the threads, is what actually stops the water.
Now wrap the faucet’s male threads with two or three turns of plumber’s tape, going clockwise so it does not unravel when you screw the timer on. The tape fills tiny gaps and helps everything seat smoothly.
Quick tip
Wrap the tape in the same direction you will turn the timer. If you wrap counterclockwise, threading the timer on peels the tape right off. A small detail that saves a redo.
Step 4: Thread the timer on straight
Here is where my neighbor went wrong. Start the timer by hand, turning it slowly, and feel for the threads to catch cleanly. If it resists or grinds in the first turn, back it off completely and start again.
Cross-threading happens when you force a connector on at a slight angle. It cuts into the threads and guarantees a leak.
Once it spins on smoothly, hand-tighten until snug, then give it a gentle quarter turn more. Do not crank it with pliers. These housings are plastic, and overtightening cracks them faster than anything.
| Symptom during setup | Likely cause | Fix |
|---|---|---|
| Grinding on first turn | Cross-threading | Back off, restart by hand |
| Steady drip at the joint | Missing or worn washer | Seat a fresh rubber washer |
| Fine spray from the seam | Not enough tape or too loose | Add tape, snug a quarter turn |
| Cracked housing | Overtightened with tools | Replace the timer body |
Step 5: Test for leaks before the drip line
This is the step I refuse to let anyone skip. Do not connect your drip tubing yet. Leave the timer’s outlet open to the air.
Turn the faucet fully on, then set the timer to run manually for two minutes. Watch the joint where the timer meets the spigot. You want zero drips there.
Then look at the timer’s outlet. Water should flow freely when the valve is open and stop crisply when it closes. If it keeps dribbling after the cycle ends, grit is holding the internal valve open, and you should unscrew the timer and rinse the inlet screen.
Testing dry like this means that if something leaks, you know it is the timer connection and not the fifty feet of tubing you are about to lay out. Once your drip line is attached, tracing a leak gets a lot harder. When you are ready for that next stage, my walkthrough on how to automate drip watering with a timer picks up right where this leaves off.
Good to know
A properly sealed hose-end timer should hold pressure with no weeping at the joint. If you see even a slow bead forming every 30 seconds, it will waste gallons over a season and can loosen further over time.
Program a simple test schedule
With the connection proven, set one real cycle so you can watch it fire on its own. On most timers you pick a start time, a duration, and how often it repeats.
For a small bed of tomatoes or peppers on 1/2 inch tubing with a few emitters, I often start people at 20 minutes, three mornings a week, then adjust from there. Your soil and sun will change that number.
Dialing in those minutes is its own skill, and I break it down in my notes on the best watering frequency and duration for drip. Start conservative and add time, since it is easier to fix underwatering than root rot.
A quick word on picking the timer itself
If you are still shopping and unsure which style suits you, the choice usually comes down to how much control you want versus how simple you want the buttons. I compared both types in digital vs mechanical hose timers, and either one installs with the exact steps above.
For sizing your pressure regulator, the folks at the University of Minnesota Extension publish solid, plain watering guidance. For choosing water-efficient products, EPA WaterSense is worth a look.
Where to go from here
You now have a timer that is threaded straight, sealed at the washer, and proven leak-free before a single foot of drip tubing enters the picture. That order matters, and it is the habit that separates a frustrating install from a quiet, reliable one.
Attach your drip line next, run one more short test with the tubing connected, and walk the whole run to confirm every emitter drips. Then let the timer do the daily work while you go enjoy your garden.
Frequently asked questions
Do I really need plumber's tape if the timer has a rubber washer?
The washer does the main sealing, but a couple of turns of plumber's tape on the faucet threads helps the timer seat smoothly and fills tiny gaps. It also makes future removal easier. Use two or three turns wrapped clockwise, no more.
How tight should I make the timer on the faucet?
Hand-tight plus a gentle quarter turn is plenty. These housings are plastic, so reaching for pliers or a wrench usually cracks them. If it still leaks after snugging, the problem is almost always a missing washer or cross-threading, not a lack of force.
Why does water keep dripping from the timer after the cycle ends?
That is usually grit stuck in the internal valve, holding it open. Unscrew the timer and rinse the inlet filter screen under a tap. Timers with a built-in filter screen have this problem far less often, which is why I recommend them.
Can I install a hose tap timer without a pressure regulator?
Sometimes, but check your pressure first with a gauge. If your faucet reads above about 50 psi, the pressure can blow 1/4 inch tubing off its fittings and stress the emitters. A regulator brings it down to the 25 to 40 psi range that drip systems prefer.
Should I connect the drip tubing before or after testing the timer?
After. Always test the timer connection with the outlet open to the air first, so any leak you find is at the timer joint and not somewhere in the tubing. Once you confirm a clean seal, attach the drip line and run one more short test.
Will a hose-end timer work in freezing weather?
No, most plastic hose-end timers can crack if water freezes inside them. Before the first hard frost, unscrew the timer, drain it, remove the batteries, and store it indoors. Reinstall in spring using the same threading and sealing steps.