Last spring a neighbor showed me the timer she had just bought for her backyard. It had one dial, one outlet, and a schedule so simple it could water her tomatoes or her roses, but not both on separate days. She had spent good money and still could not do the one thing she wanted.
That is the trap. A drip timer is a small purchase, usually 20 to 90 dollars, but the wrong one turns a relaxing garden into a chore you dread. So before you buy, it helps to choose a drip timer the way you would pick a tool: by matching its features to the actual job.
I have installed and repaired these controllers in Tucson yards for twelve years. Here is the framework I walk every beginner through.
Key takeaways
- Match the number of outlets to how many separate zones your garden needs, not to the size of the yard.
- Battery type quietly decides how often you climb out to swap cells and whether the timer survives summer heat.
- Programming flexibility (start times, day patterns, run length) matters more than any fancy screen.
- Check your water pressure and flow first, because a timer that chokes at low psi will fail you no matter how nice it looks.
Start with your zones, not your square footage
The first feature that decides everything is the number of outlets. An outlet is simply a threaded port where a hose or tubing line screws on. Each outlet runs on its own schedule.
People assume a big yard needs a big timer. What actually matters is how many groups of plants want different watering. Your thirsty vegetable bed and your established desert shrubs are two zones even if they sit ten feet apart.
A single-outlet timer is perfect for one raised bed or a row of pots. A two-outlet model lets you split, say, a morning soak for lettuce and an evening trickle for a hanging basket. Four or more outlets suit a mixed yard with a lawn strip, a fruit tree, and a flower border.
Quick tip
Count your zones on paper before you shop. Walk the garden, group plants by how thirsty they are, and let that number pick your outlet count. Buying one extra outlet is cheap insurance; running out is a real headache.

Battery type is the feature nobody talks about
Almost every hose-end drip timer runs on batteries, and the type matters more than you would guess. The battery drives the little valve that opens and closes, so a dead battery means no water on a 105 degree afternoon.
Most timers use two AA or AAA alkaline cells. A few use a single 9-volt. The 9-volt models tend to drain faster and, in my experience, fail sooner in extreme heat.
A mistake I see constantly: people install a timer in full afternoon sun and wonder why the batteries die in six weeks. Heat cooks alkaline cells. If your controller bakes on a south-facing wall, use lithium AA batteries instead, which hold up far better past 100 degrees.
Watch out
Some solar-assisted and rechargeable timers sound convenient but stop dead if the internal cell wears out and cannot be swapped. Before buying, confirm you can replace the battery yourself with a screwdriver and standard cells.
Roughly how long batteries last
| Battery type | Typical life in mild weather | Notes for hot climates |
|---|---|---|
| 2 AA alkaline | 6-12 months | Good all-rounder, check before summer |
| 2 AA lithium | 12-18 months | Best choice for full-sun installs |
| 1 9-volt alkaline | 3-6 months | Drains fast, keep a spare on hand |
Programming: the part that saves or ruins your week
Programming is how you tell the timer when to water, how long, and on which days. This is where cheap timers quietly disappoint.
The most basic dial timers only offer a fixed interval, like “every 6 hours for 10 minutes.” That is fine for a single pot, but useless for a garden that wants deep, infrequent soaks. Roots grow down when you water long and less often, so I always want run lengths I can actually control.
Look for three things: adjustable start times, flexible day patterns (every day, every other day, or specific weekdays), and a run length you set in minutes. A timer that lets you set two or three start times per day is a gift for hot climates, since a short morning and evening cycle beats one long midday blast.
If you want to think through your watering plan before you shop, my walkthrough on how to program a drip watering schedule lays out sensible run times for common plants. And once your controller is in hand, automating drip watering with a timer covers the actual setup, dial by dial.
Good to know
Digital timers with a small screen are easier to program precisely, but they cost a bit more and depend on that battery staying alive. Mechanical dial timers are cheaper and more forgiving, yet clumsy if you want odd schedules. Neither is wrong; it depends on how fussy your plants are.

Match the timer to your water source
Here is a step nearly everyone skips: check your pressure and flow before buying. Water pressure is measured in psi (pounds per square inch), and most drip timers want somewhere around 10-50 psi to open and close properly.
Standard hose bibs in town usually deliver 40-60 psi, which is plenty. But a rain barrel or a gravity-fed tank might give you only 2-5 psi, and many timers simply will not open at that pressure.
If your water comes from a tank, a pump, or a shallow well, read my guide to the best drip timers for a well or low-flow source before you commit. Choosing the wrong valve type here is the single most expensive mistake I see.
Flow matters too. Drip emitters are rated in gallons per hour (gph), often 0.5, 1, or 2 gph each. Add up the emitters on one zone; if a single outlet feeds forty 1-gph emitters, that is 40 gallons per hour, and you want a timer and tubing that can pass it. Standard 1/2 inch mainline tubing handles most home zones, while 1/4 inch tubing is for the short feeder lines out to individual plants.
A quick shopping checklist
When you stand in the aisle or scroll the listings, run through this:
- Outlets equal to your number of watering zones (round up if unsure).
- Replaceable, standard batteries (lithium AA for hot, sunny spots).
- Adjustable start times, day patterns, and run length in minutes.
- A working pressure range that includes your source psi.
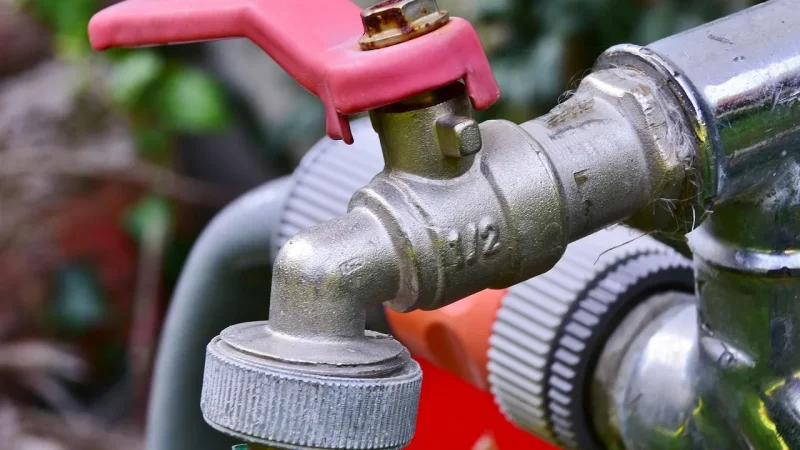
- Standard 3/4 inch hose thread so it fits your spigot and connectors.
- A manual button so you can water by hand without reprogramming.
Picture a common setup: a single spigot on the side of the house feeding a vegetable bed and two fruit trees. That is two zones, town pressure around 50 psi, and full afternoon sun on the wall. I would pick a two-outlet digital timer with lithium AA batteries and two daily start times. Around 45 to 60 dollars, and it will run for years.
Where to go from here
Buying the timer is half the job. The other half is installing it right and connecting it to your tubing without leaks, which I cover step by step in my guide to setting up a hose-end tap timer.
If you want outside references while you compare models, the EPA WaterSense watering tips are solid on timing and efficiency, and your local University of Arizona Cooperative Extension can tell you what your specific plants actually need. Match the features to your garden, and the timer stops being a gadget and starts being the quiet helper that keeps everything alive while you are busy living your life.
Frequently asked questions
How many outlets do I really need on a drip timer?
Count your watering zones, meaning groups of plants that want different schedules, not the size of your yard. One bed of vegetables and a row of drought-tolerant shrubs are two zones even if they sit close together. If you are unsure, round up by one outlet, since the extra capacity is inexpensive and running out later means buying a second timer.
Are digital timers better than mechanical dial timers?
They serve different needs. Digital timers let you set precise start times, run lengths, and day patterns, which helps if your plants want deep, infrequent soaks. Mechanical dial timers are cheaper and keep working even if their power is limited, but they struggle with odd schedules. Pick based on how flexible your watering plan needs to be.
What batteries should I use for a timer in full sun?
Use lithium AA batteries. Ordinary alkaline cells drain fast in heat above 100 degrees and can die in as little as six weeks on a south-facing wall. Lithium holds up far better and often lasts 12 to 18 months. Always confirm the battery is user replaceable before you buy.
Will a regular drip timer work with a rain barrel?
Often not. Most standard timers need roughly 10 to 50 psi to open their valve, and a gravity-fed rain barrel may deliver only 2 to 5 psi. Look for a timer specifically rated for low-pressure or gravity-fed use, and check the manufacturer's minimum pressure spec before buying.
How do I know if my timer can handle my flow?
Add up the gallons per hour of every emitter on one outlet. If forty 1-gph emitters share a zone, that is 40 gph. Make sure your tubing and timer can pass that volume. Standard 1/2 inch mainline tubing handles most home zones comfortably, with 1/4 inch used only for short feeder lines to individual plants.
What does a good drip timer cost?
A basic single-outlet mechanical timer runs about 20 to 30 dollars. A two-outlet digital model with flexible programming usually costs 45 to 60 dollars, and four-outlet controllers reach 70 to 90 dollars. Spending a little more for replaceable batteries and adjustable start times is almost always worth it over the life of the timer.