The first hard freeze of the season has a way of finding the one thing you forgot on the spigot. Around here it is usually a hose timer, still clicking away in the dark, still holding a mouthful of water inside its valve.
By March, that trapped water has frozen, expanded, and split the plastic. The timer looks fine on the outside. Then you turn the faucet on in spring and it weeps from a hairline crack you cannot even see.
I have replaced more freeze-cracked timers than I can count, and almost every one was avoidable. If you learn how to winterize a hose timer now, you save yourself a $30 to $60 part and a soggy startup next spring.
Key takeaways
- Water left inside the valve is what cracks a timer, not cold air alone.
- Drain, remove the batteries, and store the timer somewhere above 32 degrees Fahrenheit.
- Ten minutes of work in fall saves you a replacement and a leaky startup in spring.
Why freezing wrecks a hose timer
Water expands about 9 percent when it turns to ice. That does not sound like much until it happens inside a sealed plastic chamber with nowhere to go.
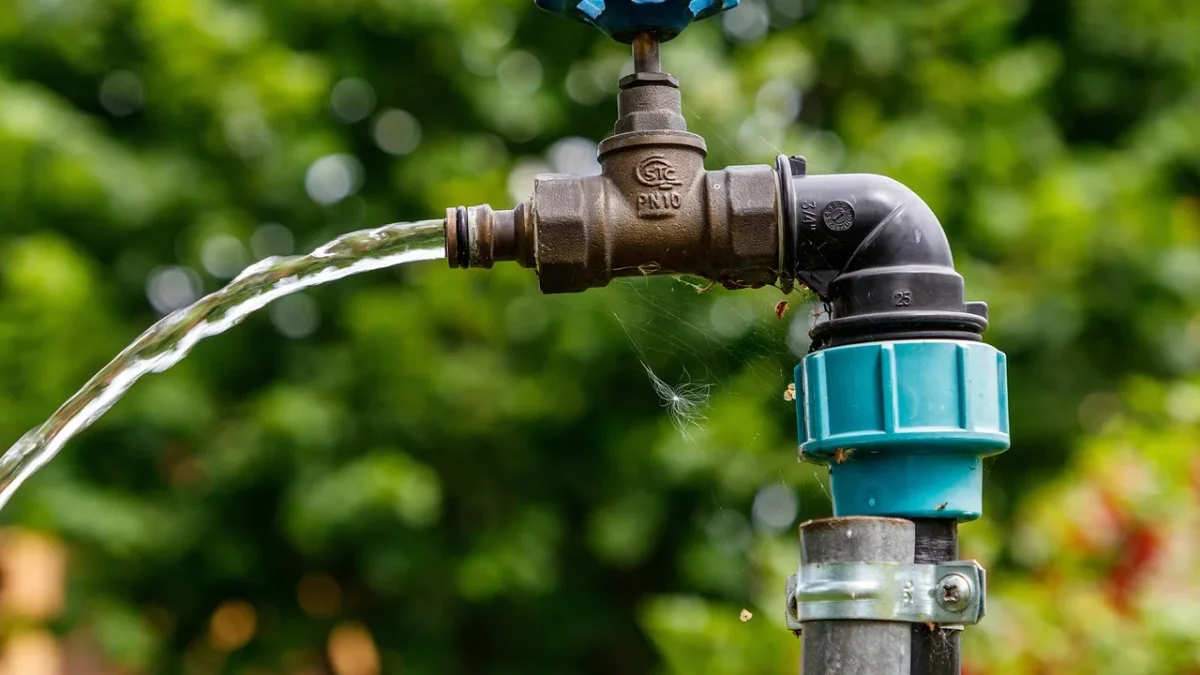
A hose timer holds water in two spots you cannot see: the solenoid valve (the small electric gate that opens and closes the water) and the threaded inlet where it screws onto the faucet. Even a turned-off timer keeps that inlet full if a hose or splitter downstream traps it.
Ice pushes outward on those walls with enormous force. The housing cracks, the internal valve seat splits, and most manufacturers will not warranty it. Orbit, for example, prints a “Keep from Freezing” note right on the underside of its timers and says freeze damage voids the warranty (Orbit support).
Watch out
Freeze damage is often invisible until spring. A timer can look perfect all winter and then leak the moment you pressurize it. Do not judge whether yours survived by looking at it in November.
Know your freeze date first
You want the timer off the faucet before your average first freeze, not after. In my part of Arizona that is mid-November, but a cold desert night can dip below 32 well before then.
Check your local average first-freeze date through your state cooperative extension or the National Weather Service, then give yourself a week of cushion. If a surprise cold snap is forecast, pull the timer that afternoon. It takes ten minutes.
A mistake I see constantly: folks wait for the “official” freeze and get caught by an early one. The timer is cheap insurance, so err early.
The step-by-step winterizing routine
Here is the exact order I follow on every job. It works for a simple single-dial timer and for a smart Wi-Fi model alike.
- Turn off the water at the faucet. Shut the spigot fully, then open a manual run cycle on the timer for 30 seconds to bleed off pressure.
- Unscrew everything downstream. Remove any hose, Y-splitter, pressure regulator, and filter. Anything left connected keeps the faucet and timer full of standing water.
- Unthread the timer from the spigot. Hand-tight usually loosens with a quarter turn. No tools needed.
- Drain it. Hold the timer up, tip it both directions, and give it a firm shake. You will feel and hear the water leave the inlet and valve.
- Pull the batteries. Take out the AA or AAA cells (or the 9-volt on older units). Cold drains them and left-in batteries can corrode and leak over four idle months.
- Wipe and dry. A quick towel-off keeps mineral crust and grit from setting up inside the threads.
Quick tip
Run that 30-second manual cycle in step 1 with the faucet already off. It vents trapped pressure so the timer unthreads easily and drains cleaner. This is also a good moment to relearn your controller if you have not touched it since spring, the same way you would when you first set up automatic watering with a timer.

Where and how to store it
The goal is simple: somewhere that stays above freezing all winter. A heated garage, a utility closet, a mudroom shelf, or a basement all work. An unheated shed in a cold climate does not, because it tracks the outdoor temperature.
I keep mine in a labeled shoebox with the batteries stored separately in a zip bag. That way the batteries do not sit in the contacts, and I am not hunting for the timer in April.
If you run several timers across a property, tuck them in one bin together. It is the same organizing logic that makes a multi-zone drip timer setup easier to manage: keep the related parts in one place so spring startup is not a scavenger hunt.
Good to know
Battery timers hate cold storage on their cells, but they do not mind cold air once empty of water. The freeze risk is the trapped water, not the housing sitting cold in a box. Drain first, and the rest is easy.
A quick real-world scenario
Last fall a client called me in a panic. She had a two-zone Wi-Fi timer feeding a bed of desert marigold and a row of potted rosemary, and a freeze warning was hours away.
We shut the faucet, ran a short manual cycle to drop the pressure, and pulled the hose and inline filter. The timer came off in one quarter turn, we shook out maybe half a cup of water, popped the batteries, and it went in her hall closet.
Total time: under twelve minutes. Come March it powered right up, held pressure, and did not leak a drop. That is the whole payoff.
Do you even need to remove it?
Sometimes people ask if they can just leave the timer on and cover it. Here is the honest comparison.
| Approach | How it holds up in a real freeze |
|---|---|
| Remove, drain, and store indoors | Best protection. Zero trapped water, no cracked valve, timer lasts years. |
| Leave on faucet, wrap in a foam cover | Risky. The wrap slows heat loss but does not empty the valve, so a long cold snap can still crack it. |
| Leave on and do nothing | Coin flip at best. One hard freeze often ends the timer. |
In a mild-winter zone where it dips just below freezing for an hour or two, a good faucet cover plus a drained timer might squeak by. Anywhere it stays below 32 overnight, take it inside. It is not worth the gamble.
A fast fall checklist
Print this or keep it on your phone. Every item takes seconds.
- Faucet shut and pressure bled off with a short manual run
- Hose, splitter, filter, and pressure regulator removed
- Timer unthreaded and shaken dry
- Batteries pulled and bagged separately
- Timer stored somewhere that stays above 32 degrees
- Faucet itself protected with an insulated cover
While you are at it, this is a good time to think about your batteries for next season. If your cells were weak this year, replacing them now and following some simple battery care habits for longer-lasting timers means fewer dead-controller headaches in spring.
Where to go from here
Winterizing a hose timer is one of those small chores that pays you back every single spring. Drain it, empty the batteries, and give it a warm dry corner, and the same timer will serve you for years instead of cracking on the faucet.
When the weather warms up and you screw it back on, take a minute to reset your schedule for the new season. If you added a moisture control this year, that is also the moment to reconnect a rain sensor and rain delay on your drip timer so you are not watering through the first spring storms. A little care at both ends of the season keeps the whole system quiet, efficient, and leak-free.
Frequently asked questions
How much water actually needs to come out of the timer?
Usually less than a cup, but that small amount is exactly what cracks the housing when it freezes and expands. Hold the timer up, tip it both directions, and shake firmly until you no longer hear water moving inside. The inlet threads and the internal valve are the two spots that trap it.
Can I just wrap the timer with a foam faucet cover and leave it on?
A cover slows heat loss but does not empty the water sitting in the valve, so a long cold snap can still crack it. In a very mild winter that dips below freezing only briefly, a drained timer plus a good cover might survive. Anywhere it stays below 32 degrees overnight, take the timer inside to be safe.
Do I have to remove the batteries if I am storing the timer indoors?
Yes, pull them. Batteries left in the contacts for four idle months can corrode and leak, which ruins the terminals. Cold also drains them faster, so you would likely face dead cells in spring anyway. Store the batteries separately in a small bag.
What temperature is safe for storing my hose timer over winter?
Keep it anywhere that stays above 32 degrees Fahrenheit, which is where water freezes. A heated garage, utility closet, mudroom, or basement all work well. An unheated shed in a cold climate does not, because it tracks the outdoor temperature and will drop below freezing.
My timer sat outside through one freeze. Is it ruined?
Maybe not, but you cannot tell by looking. Freeze cracks are often invisible until you pressurize the timer in spring, so bring it in, let it dry, and test it under water before you trust it. If it weeps from the body or the valve will not seal, it cracked internally and needs replacing.
When exactly should I pull the timer off the faucet?
Aim for about a week before your area's average first freeze date, which you can check through your local cooperative extension or the National Weather Service. If a surprise cold snap is forecast sooner, pull it that afternoon. The whole job takes about ten minutes, so there is no reason to cut it close.