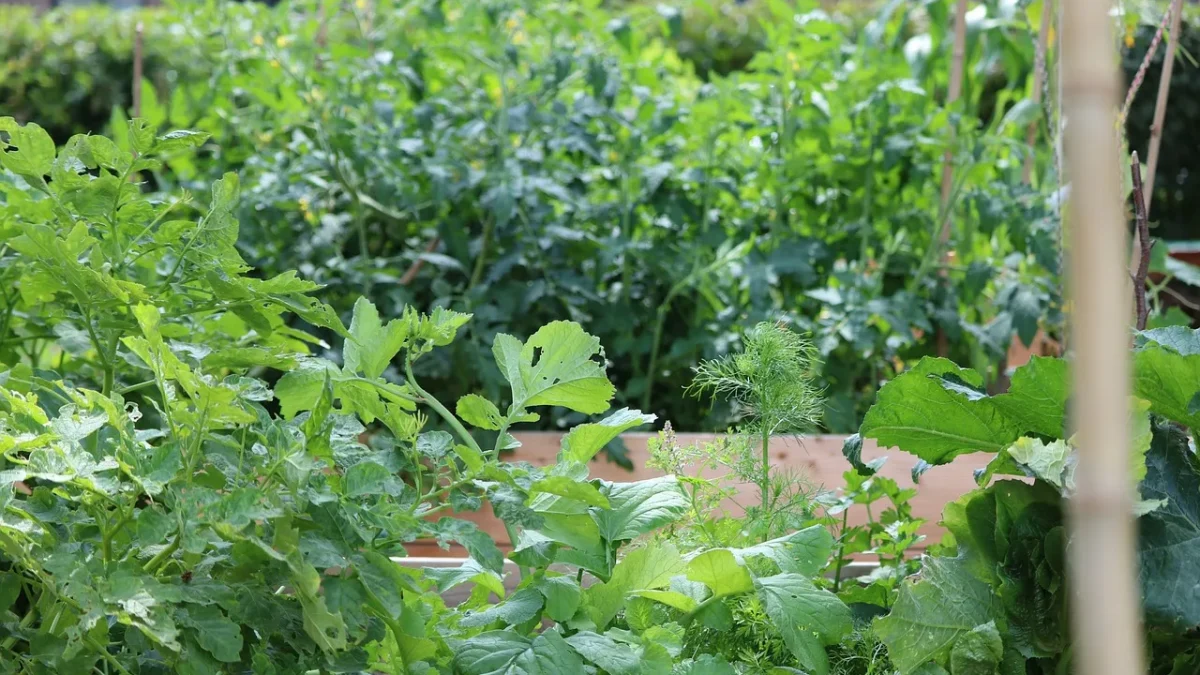
Last spring a neighbor showed me her brand-new 4×8 raised bed and asked why the tomatoes on the left side were thriving while the ones on the right looked sad and crispy. The soil was the same. The sun was the same. Her watering wand was the problem, because a hand-held hose never delivers water evenly across a bed that size.
That afternoon we mapped out a proper drip irrigation raised bed layout together, and by dinner every plant was getting the same steady drink. You can do the same thing in about two hours with parts that cost roughly $40 to $60.
This guide walks through a first layout for one standard 4×8 bed, with grid spacing tuned to that exact size. No guessing, no over-buying.
Key takeaways
- A single 4×8 bed needs about four rows of 1/4 inch drip line spaced 12 inches apart.
- Keep water pressure around 25-30 psi and use emitters rated near 0.5-1 gallon per hour for even soak.
- Budget roughly 50 feet of tubing, a pressure regulator, and a filter for one bed.
- Run the system 30-45 minutes, two or three times a week, then adjust by digging a finger into the soil.
Why a grid beats a single loop in a raised bed
Raised beds drain fast. That is the whole point of them, and it is also why one drip line snaking around the edge leaves the center dry.
A grid pattern puts water within a few inches of every root zone. For a 4×8 bed, I run the lines the long way (four parallel 8-foot rows), which matches how most people plant their rows anyway.
Emitter spacing matters just as much as line spacing. In sandy soil, water drops almost straight down, so I space emitters every 9 inches. In heavier clay or compost-rich mixes, water spreads sideways, so 12 inches is plenty.
Quick tip
Pre-spaced 1/4 inch dripline with emitters built in every 6, 9, or 12 inches saves you from hand-punching dozens of emitters. For a 4×8 bed, the 12 inch version in a standard soil mix is the sweet spot.
What you need for one 4×8 bed
Here is the short shopping list. Everything connects with push-fit fittings, so no glue and no special tools beyond a hole punch and scissors.
- About 25 feet of 1/2 inch mainline tubing (this is the thick tube that carries water into the bed)
- Roughly 50 feet of 1/4 inch dripline with built-in emitters
- A 25-30 psi pressure regulator
- A 150-mesh filter to keep grit out of the emitters
- A backflow preventer, four 1/4 inch barbed connectors, and end caps
- A hole punch, a few tubing stakes, and a timer if you want to automate it
The 1/2 inch mainline is the backbone. If you have never worked with it, my walkthrough on laying 1/2 inch drip mainline tubing the right way covers how to uncoil it without kinks and get clean, leak-free connections.
| Part | Spec for one 4×8 bed | Rough cost |
|---|---|---|
| 1/2 inch mainline | 25 feet | $10 |
| 1/4 inch dripline | 50 feet, emitters every 12 in | $18 |
| Pressure regulator | 25-30 psi | $8 |
| Filter | 150 mesh | $7 |
| Fittings and stakes | Connectors, caps, stakes | $10 |
The head assembly comes first
Before any tubing touches the bed, you build the head assembly at the water source. That is the stack of parts (backflow preventer, filter, pressure regulator, and adapter) that protects the system and knocks house pressure down to something drip can handle.
Order matters here. Put the filter before the regulator, not after, or grit chews up the regulator over time. If the sequence trips you up, I laid it out part by part in my guide on the correct order of parts for a drip system head.
Watch out
Most homes deliver 45-80 psi at the spigot. Drip emitters are designed for about 25-30 psi. Skip the pressure regulator and you will blow fittings apart or split the tubing, usually while you are not home to see it.
To get the head assembly connected to your spigot, my walkthrough on how to connect drip irrigation to an outdoor faucet covers the threaded adapter and the little quirks of garden-hose threading.
Laying out the grid, step by step
Now the fun part. With the bed empty or lightly planted, follow this order.
- Run one length of 1/2 inch mainline along the short (4-foot) end of the bed. This becomes your header, feeding all four rows.
- Cap the far end of the mainline with an end cap or figure-8 clamp.
- Punch four holes in the mainline, spaced 12 inches apart, using your hole punch.
- Press a 1/4 inch barbed connector into each hole.
- Attach a 1/4 inch dripline to each connector and run it the full 8-foot length of the bed.
- Space the four rows 12 inches apart, which lands them roughly 6 inches from each long edge with even gaps between.
- Pin each line down every couple of feet with a tubing stake so it stays put.
- Fold and clamp the end of each 1/4 inch line, or use a small end cap.
That gives you four rows across the 4-foot width, each 8 feet long, with emitters roughly every 12 inches. For a standard bed that works out to around 32 emitters, which is plenty of coverage.
Good to know
1/4 inch dripline has a maximum run length of about 19-25 feet before pressure drops off at the far end. Your 8-foot rows are well within that, so every emitter puts out the same flow from the first plant to the last.
Flush, test, and dial it in
Before you cap the ends, turn the water on and let it run for a minute with the lines open. This flushes out any manufacturing debris. Then cap the ends and watch for leaks at every connector.
A mistake I see constantly is people burying the dripline under mulch before they test it. Do the test first. Finding a popped fitting under three inches of bark mulch is a bad afternoon.
Run the finished system for 30 minutes, then dig a finger down next to a plant. You want moisture 4-6 inches deep. If it is dry, add 10-15 minutes. If water is pooling on top, your mix drains slowly and you can shorten the run.
For a fuller picture of testing, timers, and seasonal adjustments across a whole yard, my step-by-step guide to installing a drip irrigation system is the pillar piece that ties all of this together.
A quick real-world scenario
Say you are growing a classic mix: two tomatoes, a row of basil, some peppers, and lettuce along one edge. The tomatoes and peppers want deep, less frequent water, while the lettuce likes it steady and shallow.
With this grid, you water the whole bed together, but you place the thirsty tomatoes right over an emitter and the lettuce between two of them. The lettuce still gets moisture from the lateral spread without sitting in a soggy spot.
Come July in a hot climate like mine here in Tucson, that same bed might need a run every morning. In a mild coastal summer, twice a week is often enough. The soil tells you, not the calendar.
Where to go from here
Once one bed is dialed in, the second is easy because you already know the rhythm. You can tee off the same mainline to feed a neighboring bed, or add an inexpensive battery timer so watering happens at dawn while you sleep.
If you want to double-check pressure and flow numbers for your region, the EPA WaterSense program has solid water-use guidance, and most state university extension services publish free drip-irrigation fact sheets tailored to local soil and climate. Start with one 4×8 grid, water by feel for a week or two, and you will have a system that quietly does the job every single day.
Frequently asked questions
How many drip lines does a 4x8 raised bed need?
Four rows of 1/4 inch dripline is the standard for a 4x8 bed, run the long way at 8 feet each. Space the rows 12 inches apart, which puts them about 6 inches in from each long edge with even gaps between. That gives full coverage without wasting tubing or water.
What emitter spacing should I use in a raised bed?
For most compost-rich raised bed soil, emitters every 12 inches work well because water spreads sideways as it soaks in. In fast-draining sandy mixes, tighten that to 9 inches since water drops more straight down. Pre-spaced dripline saves you from hand-punching each emitter.
Do I really need a pressure regulator for one small bed?
Yes, even for a single bed. Home spigots run 45-80 psi, but drip emitters are built for about 25-30 psi. Without a regulator, the higher pressure pops fittings apart and can split tubing, often while you are away from home.
How long should I run drip irrigation in a raised bed?
Start with 30-45 minutes, two or three times a week, then check by digging a finger down next to a plant. You want moist soil 4-6 inches deep. Add time if it is dry underneath, or shorten the run if water pools on the surface.
Can I install drip irrigation after my bed is already planted?
You can, though it is easier before planting. Lay the mainline along the short end, run the 1/4 inch lines between existing plants, and use stakes to hold them in place. Just work gently around root zones and try to position emitters within a few inches of each plant.
How much does it cost to set up drip in one raised bed?
Roughly $40 to $60 for one 4x8 bed, covering mainline tubing, dripline, a pressure regulator, a filter, and fittings. A timer adds about $20 to $40 if you want to automate watering. The parts last several seasons, so the per-year cost is low.