Last spring a neighbor called me over because her brand-new drip kit was spraying water sideways out of the faucet like a busted sprinkler. She had spent an afternoon punching tubing and placing emitters, then screwed everything onto the spigot in whatever order the parts came out of the bag. The tap connection was the problem, and it usually is.
The spot where your system meets the house is small, but it does the heavy lifting. Get the order wrong and you either flood the threads, clog the whole line, or blow your emitters off within a week.
So let me walk you through how to connect drip to hose bib the right way. It takes about ten minutes and maybe fifteen dollars in parts.
Key takeaways
- A hose bib is just the outdoor faucet with external hose threads, and drip parts thread right onto it.
- The correct order at the spigot is backflow preventer, then filter, then pressure regulator, then your tubing adapter.
- Drip runs at 15-30 psi, far below household pressure, so a regulator is not optional.
- Hand-tight plus a quarter turn is enough; overtightening plastic threads cracks them.
Know your faucet threads first
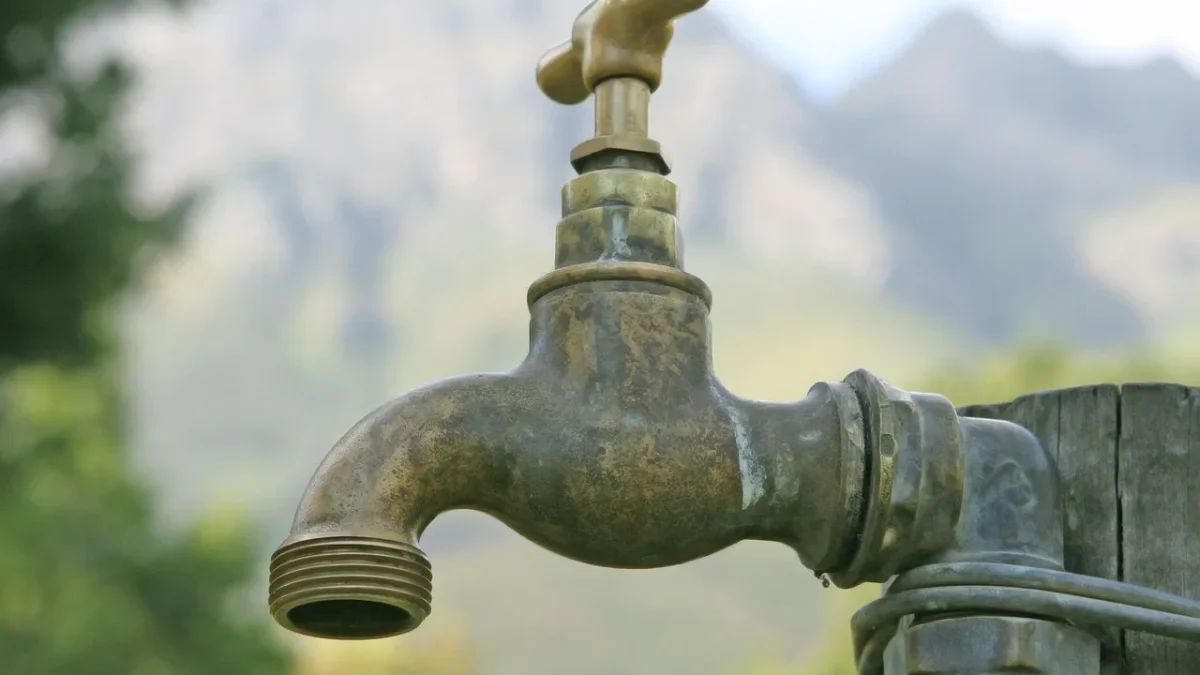
A hose bib (sometimes called a spigot or a sillcock) is the threaded outdoor faucet on the side of your house. The threads on the end are called garden hose thread, or GHT, and they are the same 3/4 inch size across almost every home in the United States.
That standard is your friend. Nearly every drip starter kit sold at a garden center is built to screw onto that exact thread, so you rarely need an adapter just to get started.
Check that the threads are clean and not chewed up. If an old brass washer is stuck inside a female fitting, pull it out so your new parts seat flat.
Good to know
If your only water source is an indoor laundry faucet or a rain barrel with a different thread, you can buy a brass GHT adapter for a couple of dollars. Match male to female and you are set.
The four parts, in the order they belong
Here is where my neighbor went wrong. The parts have to stack in a specific sequence, because each one protects the next.
Working outward from the faucet, the order is backflow preventer, filter, pressure regulator, then the adapter that connects to your 1/2 inch mainline tubing.
| Order | Part | What it does |
|---|---|---|
| 1 (closest to faucet) | Backflow preventer | Stops dirty drip water from siphoning back into your drinking supply. |
| 2 | Filter (150-200 mesh) | Catches grit and sand before it clogs your tiny emitters. |
| 3 | Pressure regulator (25-30 psi) | Drops household pressure down to a level drip parts can handle. |
| 4 (farthest out) | Tubing adapter | Connects the threaded stack to your 1/2 inch poly mainline. |
A mistake I see constantly is putting the regulator before the filter. When you do that, grit sits inside the regulator and jams the internal spring, so your pressure creeps back up and starts popping fittings off downstream.
Why pressure matters so much
Your house delivers water at roughly 40-80 psi, sometimes higher. Drip tubing and emitters are designed to run at 15-30 psi, and most 1/2 inch poly tubing is only rated to about 40-50 psi before it starts to balloon and blow apart at the connections.
That gap is exactly why the pressure regulator is the part beginners skip and then regret. A basic 25 psi regulator costs around six to eight dollars and saves you a season of chasing leaks.
Watch out
Regulators are directional. Look for the small arrow stamped on the body and make sure it points away from the faucet, toward your garden. Install it backward and it will not regulate anything.
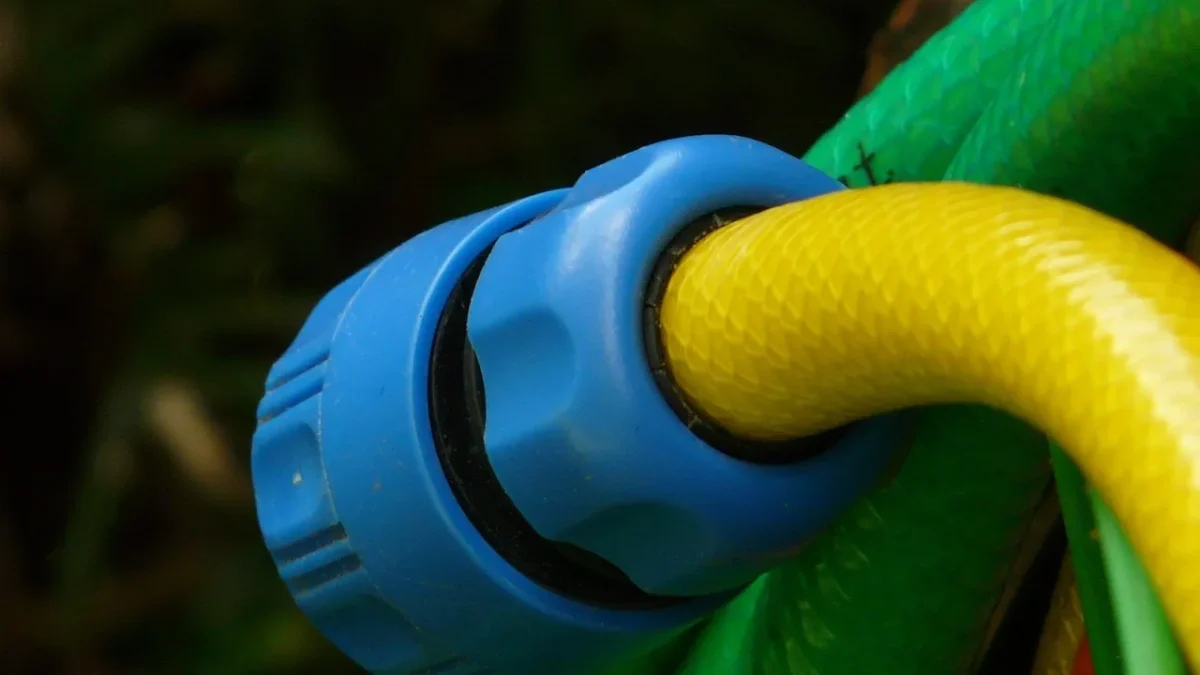
Threading everything on step by step
Turn the faucet off before you start. Then build the stack in this order.
- Screw the backflow preventer onto the hose bib. Hand-tight, then a quarter turn with your fingers.
- Thread the filter onto the backflow preventer. Check that any arrow points away from the house.
- Add the pressure regulator next, arrow pointing outward toward the garden.
- Screw on the hose thread to tubing adapter, which grips your 1/2 inch mainline.
- Push your 1/2 inch poly tubing firmly into that adapter until it seats fully.
Every one of these connections should have a small rubber or nylon washer inside the female end. If a washer is missing, that joint will weep no matter how hard you crank it.
Quick tip
Do not use a wrench on these plastic fittings. Hand-tight plus a quarter turn is the sweet spot. When I first tried this years ago I overtightened a regulator with pliers and split the housing right down the seam.
A quick real-world check
Picture a small raised bed of tomatoes and basil about ten feet from your faucet. You thread on your four parts, run 1/2 inch mainline to the bed, and open the faucet halfway.
You should hear a soft hiss, not a hard rush. Walk the line and look for spray at any joint. A little seep at first is normal as washers seat; a steady stream means a missing washer or a cross-threaded fitting.
Let it run two or three minutes, then feel the tubing. It should be firm, not rock hard and not floppy. That firmness tells you the regulator is doing its job.
What connects after the spigot
Once the tap connection is solid, everything downstream gets easier. Your 1/2 inch mainline carries water to each planting area, and from there you branch off.
If you are feeding individual plants, that is where you punch and run 1/4 inch micro-tubing to each plant with a hole punch and barbed connectors. For a single bed, the layout in this guide to setting up drip in a raised garden bed shows how to snake the line between rows.
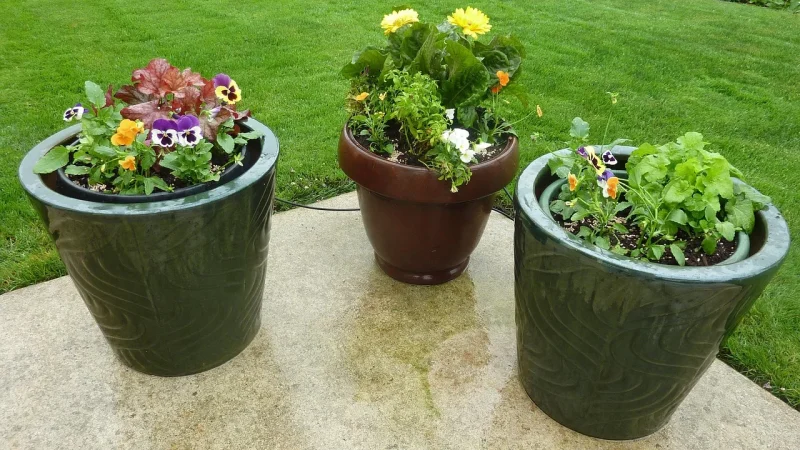
Pots on a patio work a little differently, so the walkthrough for a container garden drip setup covers spacing emitters per pot. And if you want the full picture from faucet to timer, the main step by step drip irrigation install ties all of it together.
Good to know
Adding a battery timer? It goes on before the backflow preventer, right against the faucet. That way the timer controls flow to the whole protected stack.
A simple pre-run checklist
Before you flip the water on for good, run through this quick list at the spigot.
- Backflow preventer seated first, against the faucet.
- Filter installed and any flow arrow pointing outward.
- Pressure regulator arrow pointing toward the garden, not the house.
- Washers present in every female fitting.
- All joints hand-tight plus a quarter turn, no wrench.
- 1/2 inch tubing pushed fully into the adapter.
For the official word on protecting your drinking water, the EPA WaterSense program explains why backflow prevention matters on any outdoor connection. You can read their guidance at EPA WaterSense. For pressure and filter mesh specifics, the University of Arizona Cooperative Extension publishes solid desert-tested drip advice.
Where to go from here
The spigot stack is the part people rush and then pay for later, so it is worth those extra ten minutes. Get the order right, keep your washers in place, and go easy on the threads.
Once your tap connection holds pressure without a single drip at the joints, you have the hard part behind you. Run your mainline out to the beds, branch to your plants, and let it soak.
Frequently asked questions
Do I really need a backflow preventer on my hose bib?
Yes, and it is the one part you should never skip. It stops water sitting in your dirty drip lines from being siphoned back into your household drinking supply if pressure drops. Many local codes require one on any outdoor irrigation connection, and it only costs a few dollars.
What order do the drip parts go on at the faucet?
Working outward from the hose bib: backflow preventer first, then filter, then pressure regulator, then the tubing adapter. Each part protects the one after it. Putting the regulator before the filter is the most common mistake and it clogs the regulator with grit.
Can I skip the pressure regulator?
No. Household pressure runs 40-80 psi, but drip tubing and emitters are built for 15-30 psi. Without a regulator your fittings pop off and your 1/2 inch tubing can balloon and split. A 25 psi regulator costs under ten dollars and prevents most leak headaches.
How tight should I thread the fittings?
Hand-tight plus about a quarter turn with your fingers. Do not use a wrench or pliers on plastic drip fittings, because the threads crack easily. If a joint still weeps, the problem is almost always a missing washer, not looseness.
My faucet threads look different from my drip kit. What do I do?
Most outdoor faucets use standard 3/4 inch garden hose thread, and most kits match it. If yours does not, like a laundry faucet or rain barrel, buy an inexpensive brass adapter. Match male threads to female and confirm the size before you buy.
Why is water spraying out where the parts meet the faucet?
That is almost always a missing rubber washer inside a fitting or cross-threaded parts. Turn off the water, unscrew the joint, and check that a washer sits inside the female end. Restart the threads carefully by hand so they seat straight, then snug it up.