Last spring a neighbor called me over because her new drip line kept blowing apart at the connectors. She had bought every right part: a backflow preventer, a filter, a pressure regulator, a hose adapter. She just screwed them onto the faucet in whatever order they came out of the bag.
That is the single most common mistake I see, and it is an easy one to make. The parts thread together so willingly that it feels like any sequence should work. It does not.
Getting your drip system head assembly in the correct order is what stands between a system that runs quietly for a decade and one that clogs, leaks, or pushes dirty water back into your drinking supply. Let me walk you through the exact stack and the reason behind each piece.
Key takeaways
- The correct order from the faucet outward is: backflow preventer, filter, pressure regulator, then hose or tubing adapter.
- The filter goes before the regulator so grit never reaches the regulator’s sensitive internals.
- Most home drip systems run best at 25-30 psi, far below your home’s 40-80 psi supply.
- The whole head assembly costs roughly 25 to 40 dollars and takes about 15 minutes to hand-tighten.
What the head assembly actually is
The head assembly is the short stack of parts that connects your outdoor faucet (we call it a hose bib) to the tubing that carries water to your plants. Think of it as the control center. Everything downstream depends on it doing its job.
There are four parts in a standard stack. Each one solves a specific problem, and each one has to sit in a particular spot for the others to work.
Here is the order, reading from the faucet outward.
| Position | Part | What it does |
|---|---|---|
| 1 (at faucet) | Backflow preventer | Stops dirty line water from being siphoned back into your home supply |
| 2 | Filter | Screens out grit and sediment before it reaches anything delicate |
| 3 | Pressure regulator | Drops house pressure down to a safe 25-30 psi |
| 4 (to tubing) | Hose or tubing adapter | Connects the assembly to your 1/2 inch mainline |

Part one: the backflow preventer comes first
The backflow preventer threads directly onto the faucet, before anything else. Its job is to keep water flowing one direction only, out toward your plants.
Why does that matter? When the water shuts off, a drop in city pressure can create suction. Without a backflow preventer, that suction can pull water sitting in your soil, fertilizer, and all, back up the line and into the pipes you drink from.
It has to be first because it protects the potable water at the source. Put it anywhere else in the stack and everything between the faucet and the preventer is unprotected.
Watch out
Many municipalities require a backflow preventer on any irrigation connection by code. Skipping it is not just risky for your health, it can fail an inspection. Check the EPA guidance if you inject any fertilizer through the line.
Part two: the filter, before the regulator
Next comes the filter. This is the part people most often put in the wrong spot, and the reason the order matters so much.
Your water carries fine grit, sand, and mineral flakes, even from a clean municipal tap. Drip emitters have tiny openings, some as small as 1 gallon per hour, and they clog if that grit gets through. A 150 to 200 mesh filter screen catches it.
The filter must sit before the pressure regulator. A regulator has a small internal diaphragm and spring that control pressure, and a piece of grit lodged in there will make it fail or stick. Filter first, then the clean water reaches the regulator’s delicate parts.
Quick tip
Pop the filter screen out and rinse it every few weeks during heavy watering season. It takes 2-3 minutes and prevents the slow pressure loss that makes people think their whole system is failing.
Part three: the pressure regulator
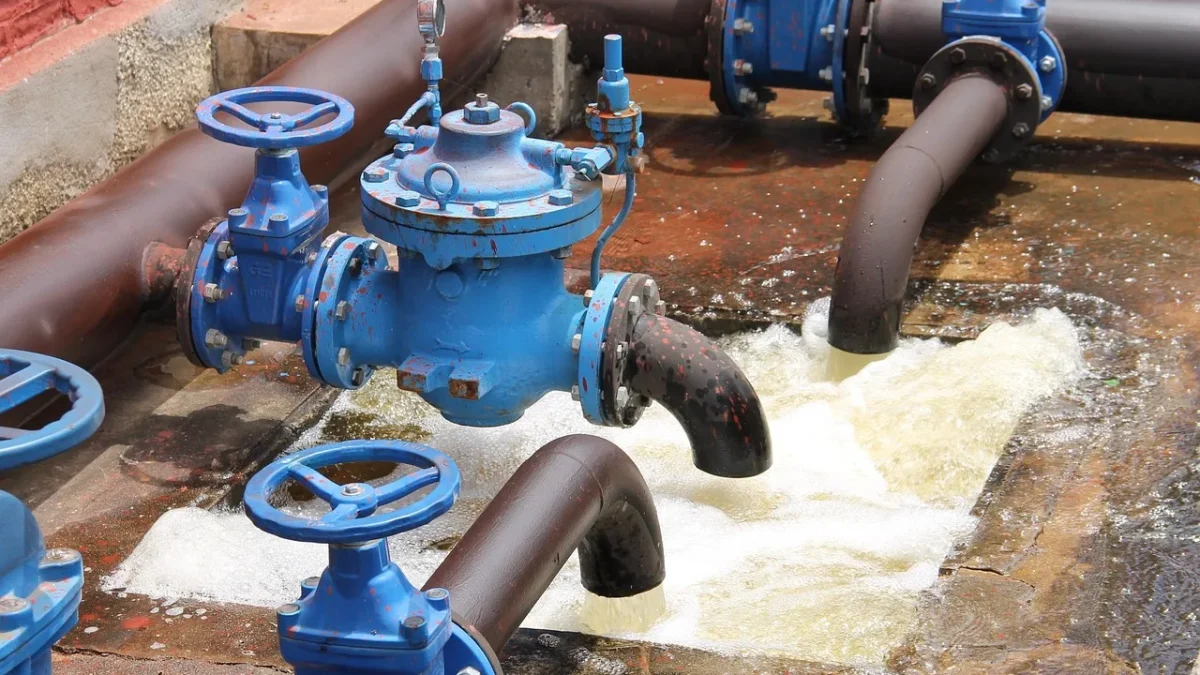
Now the regulator. Your house delivers water at roughly 40 to 80 psi (pounds per square inch), which is great for a garden hose and terrible for drip tubing. That pressure will pop 1/2 inch fittings apart and blow emitters right off the line.
A drip regulator knocks it down to a steady 25-30 psi. Some are rated at 20 psi, some at 30. For most home setups with standard poly tubing, a 25 psi regulator is the sweet spot.
The regulator goes after the filter and before the adapter. That way it receives clean water and delivers the corrected pressure straight into your mainline. My neighbor’s line was blowing apart because she had no regulator at all, running full 65 psi city pressure into 1/2 inch tubing.
Good to know
Pressure regulators are directional. Look for a small arrow stamped on the body and make sure it points toward the tubing, away from the faucet. Installed backward, it simply will not regulate.
Part four: the adapter to your tubing
The last piece is the adapter, sometimes called a swivel adapter or a hose-thread-to-tubing fitting. It bridges the threaded end of the regulator to your 1/2 inch drip mainline.
Adapters come in compression, barb, or twist-lock styles depending on the tubing brand you chose. Match the adapter to your tubing’s actual outside diameter, because 1/2 inch tubing is not standardized across manufacturers. A Rain Bird fitting and a DIG fitting are not always interchangeable.
Once the adapter is on, you are ready to run your mainline out to the beds. If you are planning that full layout now, my walkthrough on how to install a drip irrigation system step by step picks up right where this leaves off.
Putting it together in order
Here is the whole assembly as a simple checklist. Hand-tight is enough for every threaded joint. Never use a wrench on plastic fittings, because you will crack them.
- Screw the backflow preventer onto the faucet.
- Thread the filter onto the backflow preventer.
- Add the pressure regulator, arrow pointing away from the faucet.
- Attach the tubing adapter last.
- Wrap plumber’s tape on threads only if a joint weeps.
Turn the water on slowly the first time. Listen for hissing at any joint and give it a gentle quarter turn if you hear a leak.
Quick tip
Add a small brass ball valve between the faucet and the backflow preventer. It lets you shut off the drip system without touching the main faucet, which is handy when you need to open new emitters mid-season.
Why this order beats the alternatives
People sometimes ask if they can swap the filter and regulator to save a step. You cannot, not without shortening the life of your regulator. Grit belongs on the filter screen, never in the regulator diaphragm.
Others try to skip the regulator on a low-pressure well. Even then, I test the pressure first with a 5 dollar gauge. I have seen wells hit 55 psi, well above what drip tubing tolerates.
The order is not arbitrary. It is a chain where each part cleans or corrects the water before handing it to the next.
Where to go from here
Once your head assembly is stacked correctly and leak-free, the fun part starts: getting water to actual plants. If you are feeding individual tomatoes or peppers, my guide on how to punch and run 1/4 inch micro-tubing to plants shows the emitter spacing I use.
Working in a defined space instead? The same head assembly feeds a drip setup in a raised garden bed or a tidy container garden drip layout without any changes to the parts at the faucet.
Get the stack right once, and it just quietly does its job. That is the whole point of building it in the correct order. For deeper reference on protecting your water supply, the EPA WaterSense program and the University of Arizona Cooperative Extension both publish solid, plain-language irrigation resources.
Frequently asked questions
What is the correct order of parts in a drip system head assembly?
From the faucet outward, install the backflow preventer first, then the filter, then the pressure regulator, and finally the tubing adapter. This sequence protects your drinking water, screens out grit before it can damage the regulator, and delivers safe pressure to your tubing. Each part cleans or corrects the water before the next one receives it.
Can I put the pressure regulator before the filter?
No. The filter has to come before the regulator so grit and sediment never reach the regulator's small internal diaphragm and spring. A single flake of mineral lodged in there can make the regulator stick or fail. Filter first keeps that from happening and greatly extends the regulator's life.
Do I really need a pressure regulator for drip irrigation?
In almost every case, yes. Home water pressure runs about 40 to 80 psi, and drip tubing and emitters are designed for around 25-30 psi. Without a regulator, the higher pressure blows fittings apart and pops emitters off the line. Even on a well, test the pressure first, because many wells run higher than tubing can handle.
How tight should I make the connections?
Hand-tight is enough for every threaded joint in the assembly. These are plastic fittings, and a wrench will crack them. If a joint weeps a little when you turn the water on, wrap the threads with plumber's tape and give it a gentle quarter turn by hand.
How much does a full head assembly cost?
A complete stack of backflow preventer, filter, pressure regulator, and adapter usually runs about 25 to 40 dollars total, depending on brand and quality. It is a small one-time cost that protects the rest of your system. Buying the parts as a kit from one manufacturer helps ensure the threads and adapters match.
Which direction does the pressure regulator go?
Pressure regulators are directional and have a small arrow stamped on the body. That arrow must point away from the faucet and toward your tubing. Installed backward, the regulator will not reduce pressure at all, so double-check the arrow before you tighten it into the stack.