Last spring a client walked me through her new rose bed, frowning at the black lines crisscrossing the mulch. “It works great,” she said, “but it looks like spaghetti threw up out here.” She was not wrong. Her plants were thriving, yet the tubing stole the whole show.
That is the tension every gardener hits once the water is flowing. You want the system to disappear so the plants get the attention. The good news: you can hide drip tubing quickly and cheaply, and none of these tricks will choke your flow or make a future repair miserable.
Below are seven methods I reach for on real jobs, from wide-open beds to a cluster of patio pots.
Key takeaways
- Mulch is the fastest way to hide drip tubing, but keep 1/4 inch emitter lines on top so you can spot clogs.
- Stake the mainline down before you cover it, or it will float up as the soil settles.
- Match tubing color to your setting: brown blends into bark, green vanishes in foliage.
- Leave the flush cap and pressure regulator reachable so hiding the line does not mean digging every time you service it.
1. Bury the mainline just under the surface
Your 1/2 inch mainline (the thick supply tube that feeds everything) is the biggest eyesore, so it is worth hiding first. You do not need to trench deep. A shallow channel 1-2 inches under the soil hides it and still lets you pull it up if something fails.
Dig a narrow slot with a hand trowel, lay the tube in, and backfill. Keep it out of the top 6 inches where you dig and plant, or you will spear it with a shovel later. A mistake I see constantly is folks burying tube 8 inches down “to be safe,” then forgetting where it runs.
Watch out
Never bury the small 1/4 inch emitter tubing (the thin lines with drippers). Those clog, and if they are underground you will not notice a dead plant until it is too late. Bury the mainline only.
2. Tuck tubing under a mulch layer
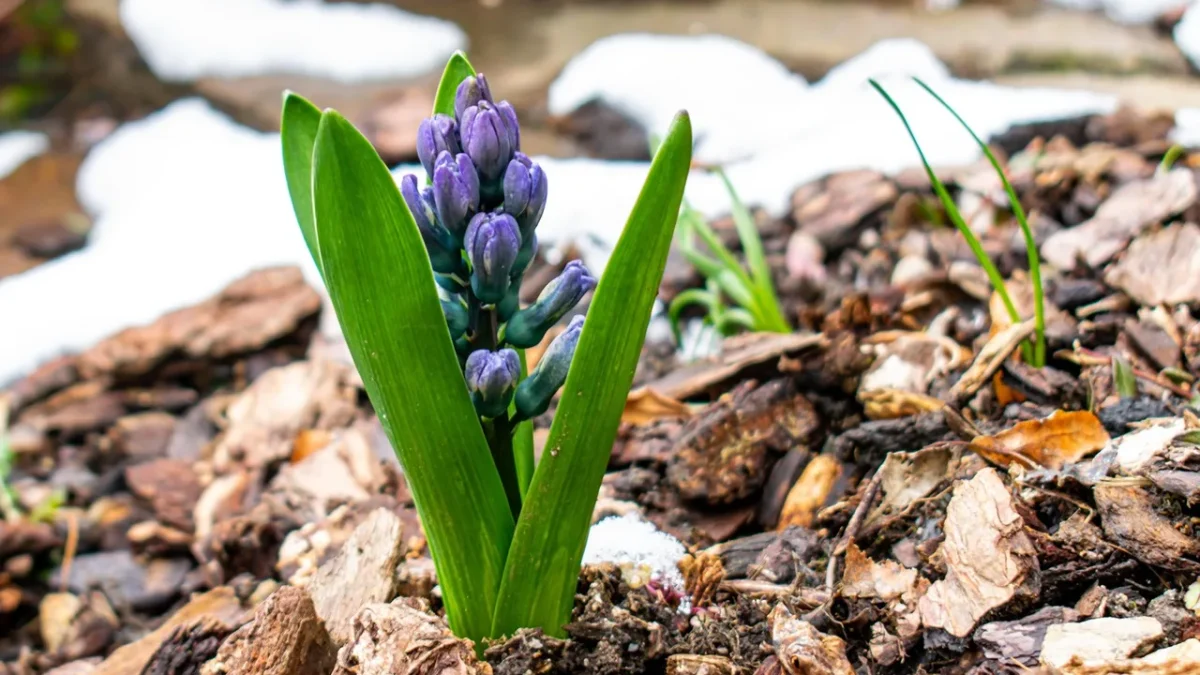
Mulch is my go-to for speed. A 2-3 inch layer of shredded bark or wood chips swallows a 1/2 inch line and looks natural in minutes. This is the same finishing step I recommend at the end of any full step-by-step drip system installation, because it hides the line and holds soil moisture at the same time.
Lay your tubing first, then rake mulch over it. For the emitter lines, I like to nestle them right at the mulch-soil boundary so water reaches roots but the tube stays glanceable when I part the chips.
Quick tip
Run a quick cycle before you mulch. Watch where each dripper wets the ground, mark those spots, then cover. That way you know exactly where to dig if an emitter quits.
3. Stake the line, then let plants grow over it
In a border, your best cover is the plants themselves. Pin the tubing tight to the soil with landscape staples (U-shaped metal pins, about 6 inches long, roughly 10 cents each) every 3-4 feet. Once perennials like salvia, catmint, or daylilies fill in, the foliage curtains the tube completely by early summer.
Staking matters more than people think. Loose tube expands in heat and creeps upward, popping out of the mulch you carefully raked over it. A stapled line stays put.
4. Choose brown or green tubing for the setting
Color does half the work before you cover anything. Standard tube is black, which reads as a hard line against light mulch or soil. Brown tubing melts into bark mulch, and green tubing hides in a lawn edge or dense groundcover.
It costs about the same, often 30 to 45 cents per foot for 1/2 inch line. If you are buying fresh, pick the color that matches where the tube will live.
| Setting | Best concealment method |
|---|---|
| Bark or wood-chip bed | Brown tube plus 2-3 inch mulch layer |
| Perennial border | Green tube, staked, hidden by foliage |
| Bare-soil vegetable rows | Shallow bury of mainline, emitters on top |
| Container garden | Run 1/4 inch line behind pots, tuck into topdressing |
5. Route tubing behind edging and hardscape
Straight runs look tidy and hide easily. Send the mainline along the back of a bed against the fence, or tuck it into the gap behind steel or stone edging where nobody looks. Corners and edges are natural hiding lines.
The same thinking helps on structures. If you are working with benches, running the supply line along a leg or under the lip keeps it out of sight, which is exactly the approach I use when I set up drip on a greenhouse bench.
6. Hide 1/4 inch lines in pots and containers
Containers are fiddly because the tubing is short and right at eye level. Run your 1/4 inch feeder line up the back of each pot, then bury the last inch under the topdressing (a thin layer of gravel, bark, or moss on the soil surface).
Group your pots so one line snakes behind the cluster instead of crossing the patio in the open. For the full method, my guide on drip irrigation for a container garden walks through spacing drippers by pot size and flow rate, usually 1-2 gallons per hour per emitter.
Good to know
Drip systems run at low pressure, often 10-15 psi, far below the 40-60 psi at your hose bib. A pressure regulator (a small fitting that drops the pressure) keeps emitters from popping off. Keep it above ground and reachable even after you hide everything else.
7. Frame long rows with a covered header line
In a vegetable garden, the header (the crossline that feeds each row) is the messiest part. Run it along the end of the beds and cover it with a board, a row of bricks, or a strip of mulch so it reads as an edge, not a pipe.
The emitter lines down each row can sit on the soil surface, tucked close to the plant stems where leaves hide them by midseason. If you are planting long stretches, my notes on a clean drip line install for long vegetable rows cover spacing and keeping runs straight so they hide better.
A quick concealment checklist
- Mainline buried 1-2 inches or under mulch, staked every 3-4 feet
- Emitter lines kept on top or just under mulch, never deep
- Tube color matched to mulch or foliage
- Flush cap, filter, and pressure regulator left reachable
- Test run done and wet spots marked before covering
When I first tried hiding a whole system in one afternoon, I rushed and mulched over the flush cap. Two months later I had a clogged filter and spent 20 minutes on my knees digging for a cap I could have left poking out. Learn from that. Hide the ugly parts, leave the working parts reachable.
Where to go from here
Pick one bed and try two methods this weekend: bury the mainline, then mulch or stake the emitter lines. You will see how fast a messy setup turns clean.
If you want deeper background on pressure, filtration, and spacing before you cover anything, the University of Minnesota Extension drip irrigation guide is a solid, plain read. And for choosing water-smart gear, EPA WaterSense lists efficient products worth a look. A garden that waters itself and hides its own plumbing is well within reach.
Frequently asked questions
Can I bury drip tubing completely underground?
You can bury the thick 1/2 inch mainline 1-2 inches deep, but keep the small 1/4 inch emitter lines on the surface or just under mulch. Buried emitters clog out of sight, and you will not spot a struggling plant until real damage is done. Shallow burial also lets you pull the line up for repairs without a full excavation.
What is the fastest way to hide drip tubing?
A 2-3 inch layer of mulch is the quickest fix. Lay your tubing, rake bark or wood chips over the mainline, and it disappears in minutes. Mulch also holds soil moisture, so it does double duty while concealing the line.
Does hiding drip tubing under mulch reduce water flow?
No. Mulch sits above the emitters and does not restrict flow at all. In fact it slows evaporation, so more of each drip reaches the roots. Just avoid packing heavy soil directly over emitters, which can smother the drip pattern.
What color drip tubing hides best in a garden?
Match the color to the setting. Brown tubing blends into bark mulch, green tubing disappears in dense foliage or a lawn edge, and standard black works fine once it is covered by mulch or plants. Colored tube usually costs about the same as black.
How do I keep buried tubing from popping back up?
Pin it down with landscape staples, the U-shaped metal pins, every 3-4 feet before you cover it. Tubing expands in heat and creeps upward if it is loose, which lifts it out of your mulch. Staking keeps the line flat and hidden through the season.
Should I hide the pressure regulator and filter too?
No, leave those reachable. The pressure regulator, filter, and flush cap need occasional cleaning and checking. If you mulch or bury them, you will be digging every time you service the system. Hide the runs of tube, not the working fittings.