Last spring a neighbor called me over because her new drip system kept blowing apart at the corners. Water was spraying everywhere except her tomatoes. When I looked, the problem was not the emitters or the timer. It was the 1/2 inch mainline, kinked hard around a raised bed and shoved into fittings that never fully seated.
That half-inch poly tube is the backbone of the whole system. Get it right and everything downstream behaves. Get it wrong and you chase leaks all season.
So let me walk you through how to lay 1/2 inch drip tubing the way I do it on real jobs here in Tucson, where the sun bakes everything and pressure swings are common.
Key takeaways
- The 1/2 inch mainline carries water to your beds; 1/4 inch tubing branches off it to individual plants.
- Warm the tubing in the sun before you cut and fit, and always seat fittings fully to stop blowouts.
- Keep runs under about 200 feet per line and stake every 3-4 feet so nothing shifts or kinks.
What the half-inch mainline actually does
Think of your drip system like a tree. The 1/2 inch poly tubing (poly just means polyethylene, a flexible black plastic) is the trunk. It carries the bulk of the water from your faucet out to where your plants live.
The skinny 1/4 inch tubing and individual emitters are the branches and leaves. They tap into the mainline and deliver water drop by drop, usually at rates like 0.5, 1, or 2 gallons per hour per emitter.
A single 1/2 inch line handles a lot. On typical home pressure of around 25-30 psi after a pressure regulator, one run can feed a couple hundred feet of tubing before flow gets weak at the far end. If you are still mapping out the big picture, my step by step drip irrigation setup guide covers where the mainline fits in the full sequence.
Gather your tools first
Nothing kills momentum like walking back to the garage three times. Here is what I lay out before I start.
- 1/2 inch drip mainline tubing (measure your longest run, then add 10 percent)
- Sharp pruners or a dedicated tubing cutter for clean square cuts
- Barbed or compression fittings: couplers, tees, and elbows
- End cap or figure-8 closure for the tail of each line
- Galvanized or plastic stakes, one every 3-4 feet
- A pressure regulator (10-25 psi) and a filter at the head, if not already installed
Quick tip
Buy the same brand of tubing and fittings. Half-inch tubing is not perfectly standard; a fitting sized for one brand can be loose or impossibly tight on another. Matching them saves a lot of swearing.
Plan the route before you cut anything
Walk your garden with the coil in hand and picture the path. You want the mainline to run along the edge of beds or down the center of a row, close to the plants it serves.
Keep the line as straight as you can. Every bend is a chance for a kink, and a kink chokes flow to everything past it.
For gentle curves, the tubing bends on its own. For sharp corners, do not force it. Use an elbow fitting instead. This is exactly where my neighbor went wrong.
Long straight beds are their own animal. If you are feeding 50 or 100 foot rows of vegetables, read my notes on running drip line down long vegetable rows so you size the mainline for even pressure end to end.
Watch out
Do not lay black poly tubing across a hot patio or driveway where it will sit in full sun with no soil to cool it. On a 105 degree afternoon that tubing can hit temperatures that soften it and weaken the fittings. Route it through planting beds or bury it lightly where it must cross open ground.
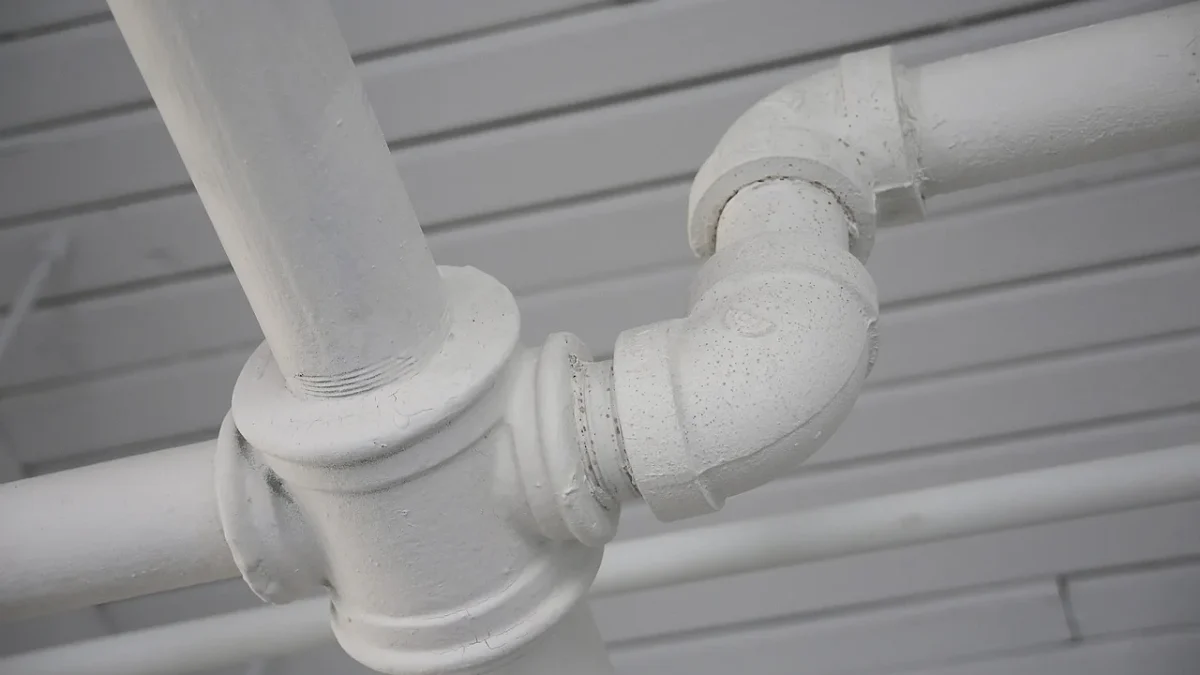
How to cut and connect 1/2 inch tubing
Here is the part beginners overthink. It is genuinely simple once you feel it.
- Let it warm up. Lay the coil in the sun for 20-30 minutes. Warm tubing is soft and slides onto barbs easily. Cold tubing fights you and cracks.
- Cut it square. A clean, straight cut seats fully in the fitting. An angled cut leaks. I use a tubing cutter, but sharp pruners work fine.
- Push all the way home. Slide the tubing onto the barbed fitting until it hits the collar. For compression fittings, push and twist slightly. You should feel it grab hard.
- Tug to test. Pull the joint. If it slides off, it was not seated. Redo it.
A mistake I see constantly is people stopping when the fitting merely holds. Merely holding is not enough. At 25 psi that joint will creep loose over a few weeks and pop, usually the week you leave town.
Barbed versus compression fittings
Both work. I use each in different spots, so here is how I choose.
| Feature | Barbed fittings | Compression fittings |
|---|---|---|
| Cost each | About 0.50 to 1 dollar | About 1 to 2 dollars |
| Ease of install | Easy once tubing is warm | No warming needed, just push |
| Reusable | Yes, pull off and reconnect | Mostly no, they grip permanently |
| Best for | Layouts you may change | Set-and-forget permanent runs |
For a home garden that evolves year to year, I lean barbed. For a permanent install like a fixed drip setup on a greenhouse bench, compression fittings and their tight, tidy grip are worth the extra cost.
Securing the mainline so it stays put
Loose tubing wanders. It creeps in the heat, floats after a heavy watering, and drifts out of your beds within a month.
Drive a stake over the tubing every 3-4 feet, and always add one right beside each fitting and each corner. Fittings are where stress concentrates, so pin them down.
On slopes, tighten that spacing to every 2 feet. Gravity and wet soil will pull an unstaked line downhill.
Good to know
You can bury 1/2 inch mainline under an inch or two of mulch to hide it and keep it cool, but do not bury it deep in soil. You want to see it when you troubleshoot, and the emitters that branch off it need to sit at the surface near each plant.
Cap the end and flush before you rely on it
Before you close up a line, run water through the open end for a minute. Manufacturing debris and dirt collect inside new tubing, and flushing pushes it out before it clogs your emitters.
Then cap the tail. A figure-8 closure (a simple plastic clamp that folds the tubing over on itself) is cheap and reopens easily when you need to flush again. An end cap fitting works too.
Turn on the water and walk the whole line slowly. Look for spray, drips at joints, and any soft kinks you missed. Fixing a leak now takes two minutes. Finding it in July when a plant is dead takes a lot longer.
Where to go from here
With a straight, well-staked mainline in the ground, the fun part starts: punching in 1/4 inch lines and placing emitters right at each plant’s roots. Basil, peppers, and young tomatoes each want their own drip point, and now you have a solid trunk to branch from.
If your water source is a barrel rather than a spigot, the mainline connection changes a little, and my guide on connecting drip irrigation to a rain barrel walks through the low-pressure fittings you will need. For general specs and water-saving numbers, the folks at EPA WaterSense and your local University of Arizona Cooperative Extension are reliable places to double-check pressure and flow guidance for your climate.
Take your time on the backbone. Every hour you spend getting the mainline right saves you three chasing leaks later.
Frequently asked questions
How long can a single 1/2 inch drip mainline run be?
For most home systems at 25-30 psi, keep a single run under about 200 feet before flow gets noticeably weak at the far end. If you need to cover more ground, split into two lines with a tee near the head. Longer runs also drop pressure, so far emitters put out less water than near ones.
Do I need to warm the tubing before connecting fittings?
With barbed fittings, yes, it helps a lot. Cold poly tubing is stiff and can crack or refuse to seat fully, which causes leaks. Lay the coil in the sun for 20-30 minutes, or dip the end in warm water. Compression fittings are more forgiving and usually push on without warming.
What is the difference between 1/2 inch mainline and 1/4 inch tubing?
The 1/2 inch line is the backbone that carries most of the water from your faucet out to the beds. The 1/4 inch tubing is much thinner and branches off the mainline to deliver water to individual plants through emitters. You almost always use both together in one system.
Can I bury the 1/2 inch drip mainline?
You can cover it with an inch or two of mulch to hide it and keep it cool, and that is what I recommend. Avoid burying it deep in soil, because you want to see the line when troubleshooting and the emitters branching off it need to sit at the surface near each plant's roots.
How often should I stake down the mainline?
Drive a stake every 3-4 feet on flat ground, and every 2 feet on slopes. Always add a stake right next to each fitting and corner, since those spots take the most stress and are where blowouts happen. Loose tubing creeps in the heat and drifts out of your beds within weeks.
Why does my tubing keep popping off the fittings?
Almost always the fitting was not seated fully. Push the tubing on until it hits the collar of the barb, then tug hard to confirm it grips. Cold or angle-cut tubing is the usual culprit, so warm it in the sun and make clean square cuts. Matching tubing and fittings by brand also prevents loose joints.