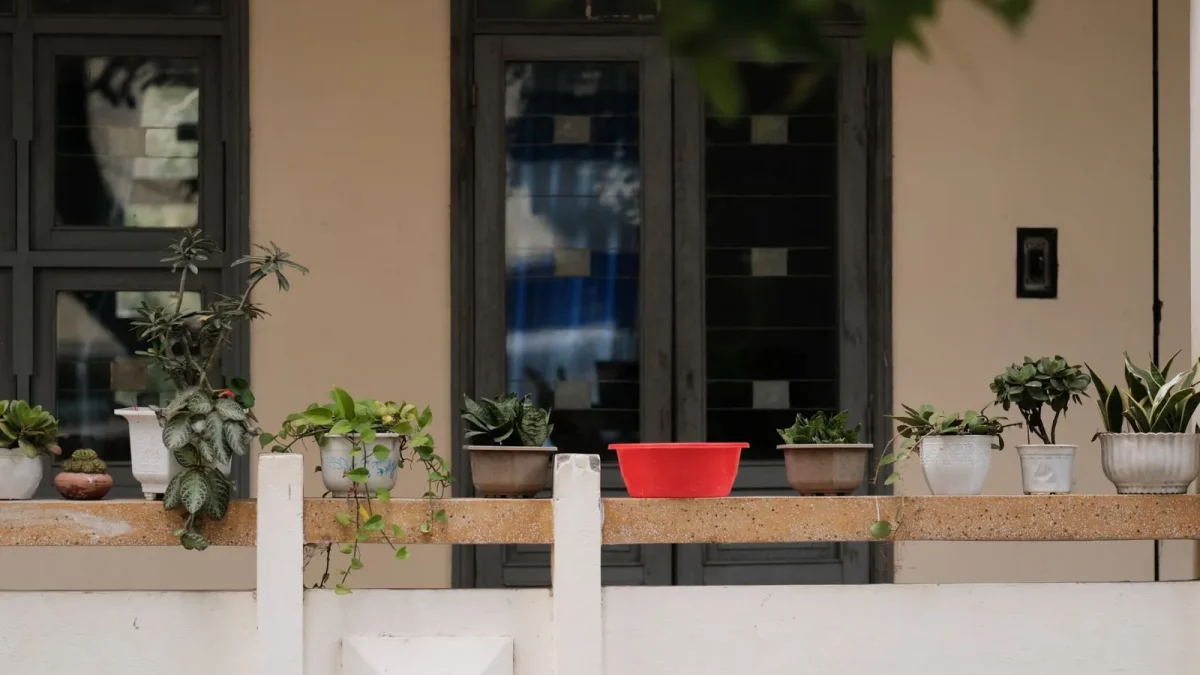
Last spring a reader emailed me from a third-floor apartment in Phoenix. She had eleven pots on a balcony, a lease that forbade attaching anything to the walls, and tomatoes that wilted every afternoon while she was at work. She figured drip was off the table because she pictured trenches and buried pipe.
It is not. Drip irrigation for renters is one of the easiest wins in gardening, because the whole system can sit on top of your existing pots and coil back into a bin when you move.
I have set these up on balconies, patios, and windowsills, and the same principles work in a studio with three houseplants or a rented backyard you are not allowed to dig up. Nothing here requires a drill, a plumber, or a security deposit gamble.
Key takeaways
- A renter drip system connects to a faucet or a gravity tank, uses soft 1/4 inch tubing, and leaves no holes or permanent marks.
- Battery timers cost roughly $25 to $40 and let you water while you are away, which is where most container plants die.
- Everything coils into a storage bin at move-out, so you take your investment with you.
Why renters get drip wrong before they start
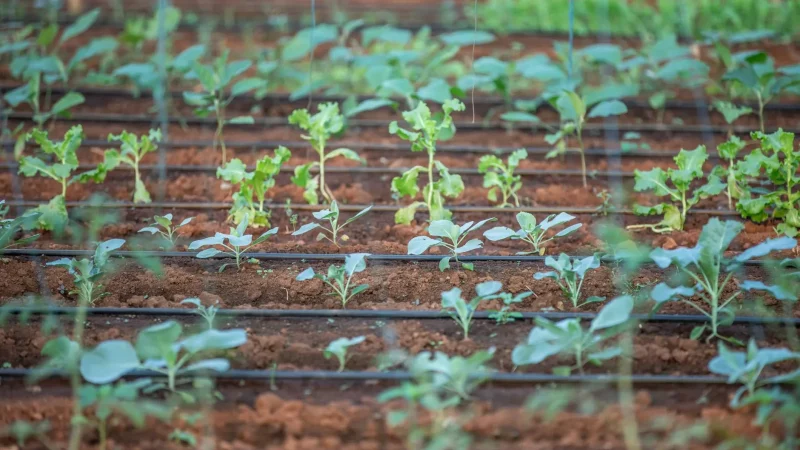
A mistake I see constantly is people assuming drip means digging. That is in-ground drip, which is a different animal. For pots and balconies you want what I call surface drip: thin tubing that rests on the soil and delivers water one slow drop at a time.
The second mistake is thinking you need a hose bib (that is the threaded outdoor faucet) right next to your plants. You often do not. A gravity-fed reservoir or a kitchen-faucet adapter covers most apartment situations.
If you are brand new to all of this, it helps to read the beginner’s guide to how drip systems work first, then come back here for the renter-specific tricks.
Pick your water source
Your setup depends entirely on what water access you have. Most renters fall into one of three buckets.
| Your situation | Best approach |
|---|---|
| Outdoor faucet (hose bib) on balcony or patio | Screw on a battery timer, run 1/2 inch mainline, branch off with 1/4 inch tubing |
| Only an indoor kitchen or bathroom faucet | Use a faucet-thread adapter and a short run, or fill a gravity reservoir |
| No convenient tap at all | Raised 5-gallon bucket or rain barrel feeding tubing by gravity |
Gravity systems are the unsung hero for apartments. Raise a 5-gallon bucket about 2 feet above your pots, and you get enough pressure (roughly 1 psi per 2.3 feet of height) to run several drippers. It is slow, but slow is exactly what drip wants.
Quick tip
For gravity setups, use pressure-compensating drippers rated for low pressure, or simple 1/4 inch adjustable drippers you can dial by hand. Standard high-flow emitters need 15-30 psi and will barely trickle off a bucket.
What to buy for a no-drill balcony
Here is the short shopping list I give first-timers. Total cost usually lands between $50 and $90 depending on how many pots you have.
- Battery-powered faucet timer (about $25 to $40) if you have a hose bib
- 1/2 inch poly mainline tubing to carry water along the pots
- 1/4 inch micro-tubing to branch into each container
- Adjustable drippers or 1/2 gph and 1 gph emitters (gph means gallons per hour)
- A hole punch tool, tubing stakes, and a few goof plugs to seal mistakes
- An end cap or figure-eight clamp to close the mainline
Notice there is no glue, no drill, and no cutting into anything the landlord owns. The tubing stakes hold everything in place using the weight of the soil, not screws.
If you are torn between grabbing a boxed kit or buying parts one by one, my breakdown of starter kits versus building your own walks through which makes sense for small container gardens.
Setting it up step by step
I timed this on my own patio recently. Eight pots took me about 40 minutes, and I am slow because I fuss over dripper placement.
- Connect your timer or adapter to the water source and hand-tighten. No tools needed for the threads.
- Run the 1/2 inch mainline along the back or base of your pots, looping past each one. Leave it a little loose so it can flex.
- Punch a hole in the mainline where each pot sits, then push in a 1/4 inch connector.
- Run micro-tubing from that connector into the pot and stake it near the plant’s base, not touching the stem.
- Add a dripper at the end. Start with 1 gph for larger pots, 1/2 gph for small ones.
- Cap the end of the mainline, then turn the water on low and watch for leaks.
Watch out
Always run the system once by hand before trusting the timer. I have seen a popped connector turn a balcony floor into a small pond overnight. Check that every dripper actually drips and that the mainline cap holds.
Timing and how much water pots really need
Container plants dry out faster than ground beds because their roots have nowhere to hide. In Tucson summers I run balcony pots twice a day, morning and early evening, for 5-10 minutes each. In milder climates, once a day is plenty.
A good starting rule: a 12 inch pot with a 1 gph dripper wants about 10-15 minutes to moisten the whole root ball. Stick a finger 2 inches into the soil after a cycle. Damp is right, soggy means dial it back.
Herbs like basil and mint are thirsty. Succulents and rosemary want far less, so give them their own dripper or a longer gap between waterings. Grouping plants by thirst on separate tubing runs saves you headaches later.
Drip is also gentle on your water bill, and the savings add up fast on a balcony. If you want the numbers, I dug into how much water drip actually saves compared to hand watering, and containers benefit even more than garden beds because so little evaporates.
Good to know
The EPA notes that watering systems delivering water slowly and directly to roots waste far less than sprinklers or a hose left running. For containers, that efficiency is the whole point.
Keeping your landlord happy
The beauty of a renter setup is reversibility. When you move, you unthread the timer, pull the stakes, coil the tubing into a bin, and the balcony looks untouched.
Route tubing along baseboards and pot edges so it stays discreet. Avoid running anything across a doorway or a shared walkway. If your lease is strict, a photo of the before and after usually settles any worry a landlord has.
For the cautious, a full gravity system with a freestanding reservoir touches zero building plumbing, which sidesteps the conversation entirely.
Is the effort worth it for a rental?
If you travel, work long hours, or just forget to water (no judgment), the answer is almost always yes. A $60 system that keeps $200 of plants alive through a heat wave pays for itself in one summer.
For a deeper look at costs and payback, I put together an honest cost breakdown of whether drip is worth it that covers small-scale setups like these.
Where to go from here
Start small. Pick your three thirstiest pots, build a single tubing run this weekend, and watch how they respond over a week. Once you trust it, expanding to the rest of the balcony is just more 1/4 inch tubing and a few more drippers.
That reader in Phoenix, by the way, sent me a photo in July: eleven pots, one battery timer, tomatoes she never worried about again. Her whole system fit in a shoebox when she moved out in the fall. That is the renter promise. Nothing permanent, nothing wasted, and plants that thrive whether you are home or not. For manufacturer specs on low-pressure emitters, Drip Depot and the University of Arizona Cooperative Extension both publish plain-language guides worth bookmarking.
Frequently asked questions
Can I set up drip irrigation without drilling any holes in my apartment?
Yes. A renter setup rests on top of your pots and connects to an existing faucet or a gravity reservoir, so nothing gets attached to walls or floors. Tubing is held in place with soil stakes, not screws. At move-out it all coils into a storage bin and leaves no marks.
What if my balcony has no outdoor faucet at all?
Use a gravity-fed system. Raise a 5-gallon bucket or small rain barrel about 2 feet above your pots and let tubing feed the drippers by gravity. You will want low-pressure or adjustable drippers since a bucket produces only around 1 psi per 2.3 feet of height. It waters slowly, which is fine for drip.
How much does a basic renter drip system cost?
Most small balcony setups run between $50 and $90. A battery timer is roughly $25 to $40, and the tubing, drippers, connectors, and stakes make up the rest. If you skip the timer and use gravity, you can come in even lower.
How long should I run drip for potted plants?
A 12 inch pot with a 1 gallon per hour dripper usually needs about 10-15 minutes per cycle. In hot climates run twice a day, morning and evening; in milder weather once a day works. Check the soil 2 inches down afterward. Damp is right, soggy means shorten the time.
Will a drip system work while I am away on vacation?
That is exactly what it is best at. A battery-powered timer runs your schedule automatically whether you are home or not, which prevents the classic container-garden death by neglect. Just test the whole system by hand for leaks before you leave so a popped connector does not empty onto your floor.
Do I need special drippers for a gravity or low-pressure setup?
Yes, and this trips people up. Standard emitters expect 15-30 psi and will barely trickle off an elevated bucket. Choose pressure-compensating drippers rated for low pressure, or simple 1/4 inch adjustable drippers you can open by hand until the flow looks right.