A neighbor called me last spring because her brand-new drip line had blown apart at the fittings, spraying water all over her tomatoes. She had connected it straight to her outdoor spigot and turned the valve wide open. Nothing was wrong with her parts. The problem was pressure, plain and simple, and it is the single most misunderstood piece of a home drip setup.
Once you understand how drip irrigation water pressure works, most of the mysteries clear up fast. Emitters stop popping off. Tubing stops splitting. Your plants get an even, gentle drink instead of a firehose at one end and a trickle at the other.
So let me walk you through it the way I would if we were standing in your garden together.
Key takeaways
- Drip systems run on low pressure, usually 15-30 psi, while most homes deliver 40-80 psi.
- Psi (pounds per square inch) measures the force pushing water through your tubing, not how much water you have.
- Too much pressure blows off fittings and splits tubing; too little starves emitters at the far end.
- Knowing your home’s pressure is the first step before you buy a single fitting.
What psi actually means
Psi stands for pounds per square inch. It is a measurement of force, the push behind the water as it moves through your pipes and tubing.
Think of it like the difference between a garden hose with your thumb over the end versus letting it flow freely. Same amount of water, very different force. High psi is that thumb-over-the-end blast. Low psi is a soft, steady flow.
People mix up pressure with volume all the time. Volume is how much water arrives, measured in gallons per hour (gph) for drip emitters, or gallons per minute (gpm) for bigger flows. Pressure is how hard that water is being pushed. You can have plenty of one and not enough of the other.
Drip emitters are rated to release a specific amount at a specific pressure. A common 1 gph emitter is designed to drip one gallon per hour when it sees around 20-25 psi. Send it 60 psi and it will spit far more, unevenly, and often work itself loose.
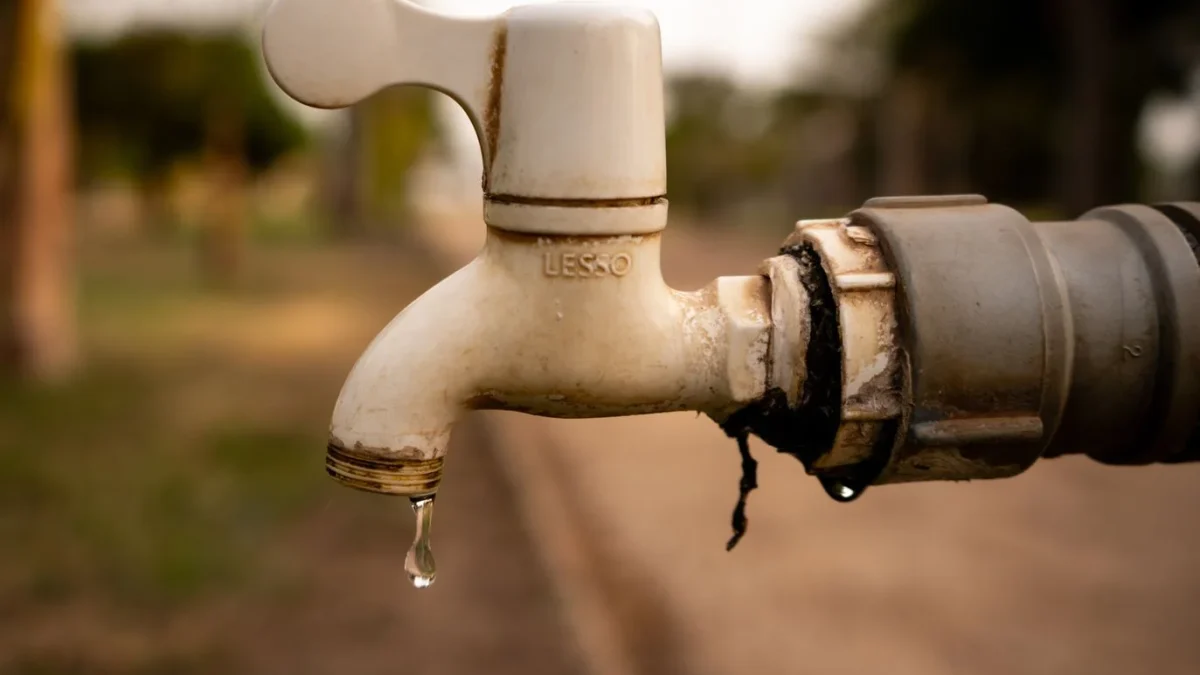
Why drip systems want low pressure
Drip is a low-pressure technology by design. The whole point is to deliver water slowly, right at the root zone, with almost no waste to evaporation or runoff.
Most drip components (the thin 1/4 inch tubing, the 1/2 inch mainline, the barbed fittings, the little emitters) are made of flexible polyethylene. They are built to handle a gentle push, not the full force of your household plumbing.
Typical drip systems run happily in the 15-30 psi range. Some micro-sprays and misters like it even lower, around 15-20 psi. Push much past 40 psi and you start stressing every connection in the line.
Watch out
Connecting drip tubing directly to an unregulated spigot is the number one cause of blowouts I see. Home pressure of 60 or 70 psi will pop barbed fittings right off the tubing, sometimes days later when you are not even home. Always plan for pressure control before the water reaches your drip line.
How your home water pressure fits in
Here is the part that surprises beginners. Your house is built for high pressure so that showers feel strong and faucets fill fast. Municipal water systems commonly deliver somewhere between 40 and 80 psi at the tap.
The Environmental Protection Agency and most plumbers consider anything above 80 psi too high even for household plumbing. You can read more about home pressure ranges from a source like the EPA WaterSense program, which covers efficient outdoor watering in detail.
So there is a gap. Your home hands you 40-80 psi. Your drip line wants 15-30 psi. That difference is exactly why drip systems include a step that brings the pressure down before the water reaches your emitters. (I am not covering how to install that piece here, just why the gap exists.)
Once you see drip as a low-pressure guest inside a high-pressure house, the design choices make sense.
A quick pressure comparison
It helps to see the numbers side by side. Here is roughly what different parts of the system expect.
| Where the water is | Typical pressure (psi) | What it is for |
|---|---|---|
| Municipal supply at the meter | 50-80 | Strong household flow |
| Outdoor spigot | 40-70 | Hoses, sprinklers |
| Drip mainline (1/2 inch) | 20-30 | Carrying water to zones |
| Emitters and 1/4 inch tubing | 15-25 | Slow, even drips |
Your exact numbers will vary by neighborhood and elevation, but the pattern holds: high at the source, low at the plant.
How to find out what pressure you have
Before you buy anything, you want to know your starting number. It costs almost nothing to check.
- Pick up a screw-on water pressure gauge at any hardware store for about 10 to 15 dollars.
- Screw it onto an outdoor spigot, hand-tight.
- Turn the spigot fully on with no hose attached.
- Read the psi on the dial. Do this when no other water is running in the house for the truest number.
Write that number down. If you see 65 psi, you now know you need to bring pressure down to around 25 for a healthy drip line. If you happen to read a low number like 30, you have less work ahead but also less room to run long runs of tubing.
Quick tip
Check your pressure at different times of day. In many towns, municipal pressure climbs at night when neighbors stop using water. A reading that looks fine at noon can spike higher after dark, which is often when unattended blowouts happen.
What happens when pressure is wrong
Too much and too little both cause trouble, just different kinds.
Too much pressure shows up as blown fittings, split tubing, and emitters that shoot rather than drip. I once watched a client’s 1/4 inch line whip loose and water a fence for three hours because the run was fed straight off 70 psi.
Too little pressure is quieter but just as frustrating. The emitters nearest the source drip fine, and the ones at the far end barely weep. Your first tomato plant thrives while the pepper at the end of the line stays thirsty. This uneven delivery is one reason careful planning matters so much.
Good to know
Long tubing runs and uphill slopes both eat pressure. Every 2.3 feet of vertical rise costs you about 1 psi. If your garden climbs a hill, the plants at the top will see noticeably less push than the ones at the bottom.
How pressure connects to the rest of your plan
Pressure does not live in isolation. It ties directly to tubing size, run length, and how many emitters you can feed.
Bigger tubing carries water with less pressure loss over distance, which is why the choice between sizes matters. If you are still deciding, my rundown on drip tubing sizes and how to pick one walks through the tradeoffs in plain terms.
Pressure also shapes how you lay everything out. Where you place your zones and how long each run gets both affect whether the last emitter gets its fair share, which is the heart of a good drip irrigation layout plan.
And once water is flowing evenly, you still need to know how long to run the system. That is a matter of matching emitter output to what each plant actually drinks, which I cover in the guide on how to calculate plant water needs for drip.
A simple pre-build checklist
Before you shop, run through these quick items so pressure never catches you off guard.
- Measured my home’s psi with a gauge (and rechecked it at night).
- Confirmed my drip parts are rated for a low-pressure range, usually 15-30 psi.
- Sketched my run lengths and noted any slopes.
- Planned for a way to bring high home pressure down before the drip line.
- Picked a tubing size that matches my longest run.
Where to go from here
Pressure is the quiet backbone of every drip system. Get it into that gentle 15-30 psi band and your fittings hold, your tubing lasts, and every plant from the first to the last gets a steady drink.
If you are just getting oriented and want the full picture of how the pieces work together, start with my beginner’s guide to drip irrigation basics. Understanding drip irrigation water pressure is one big piece of the puzzle, and it makes everything else you build so much easier.
Grab that pressure gauge first. Everything you design from there will thank you for it.
Frequently asked questions
What psi should a drip irrigation system run at?
Most home drip systems work best in the 15-30 psi range. Emitters and micro-sprays are often rated for around 20-25 psi. Running much higher stresses fittings and tubing, while running too low starves the emitters at the far end of your line.
Can I connect drip tubing straight to my outdoor faucet?
You should not connect it directly without bringing the pressure down first. Home faucets commonly deliver 40-80 psi, which is far more than drip parts can handle. That much pressure blows off barbed fittings and splits tubing, sometimes hours after you leave the garden.
How do I check my home water pressure?
Buy a screw-on water pressure gauge for about 10 to 15 dollars at a hardware store. Attach it to an outdoor spigot, turn the water fully on with nothing else running, and read the dial. Check it again at night, since pressure often rises when neighbors stop using water.
What is the difference between pressure and flow in drip irrigation?
Pressure (measured in psi) is the force pushing water through your tubing. Flow is how much water arrives, measured in gallons per hour for emitters. You can have strong pressure but low flow, or the reverse, so both need to match what your plants and parts require.
Why do the emitters at the end of my line barely drip?
That is usually a sign of pressure loss along the run. Long lengths of tubing and any uphill slope both reduce pressure by the time water reaches the end. Shortening runs, using larger tubing, or splitting the garden into separate zones usually evens things out.
Does high water pressure damage a drip system over time?
Yes. Even if a high-pressure line seems fine at first, the constant force wears on every connection. Fittings work loose, tubing weakens at the barbs, and emitters spray unevenly. Keeping pressure in the recommended low range protects the whole system and helps it last for years.