Last spring a neighbor showed me a tray of geranium cuttings that had gone slimy and black in about a week. She was convinced she had a disease problem. What she actually had was a garden sprinkler head pointed at a propagation tray, dumping big fat droplets that soaked the medium and never gave the leaves the fine humidity they needed.
That is the whole trick with misters for cuttings. You are not watering. You are keeping a thin film of moisture on leaves that have no roots yet, so they do not dry out while they grow some.
Big droplets do the opposite. They saturate the soil and rot the stem. So the hardware you pick, and the flow rate you run it at, matters more here than almost anywhere else in a drip system.
Key takeaways
- Propagation misting is about surface humidity on leaves, not soaking the rooting medium.
- Choose fine-fog nozzles rated in low flow (often 3 to 13 GPH) and run them in short bursts, not long soaks.
- Most misting heads want 20 to 50 psi to atomize water into a true fog, so check your pressure first.
- Use 1/4 inch tubing off a 1/2 inch supply line, and add a filter to stop the tiny orifices from clogging.
Why fine fog beats a spray or a sprinkler
A mister for propagation makes a fog, meaning droplets so small they hang in the air for a second before settling. That soft coverage wets the leaf surface evenly and cools the air around the cuttings.
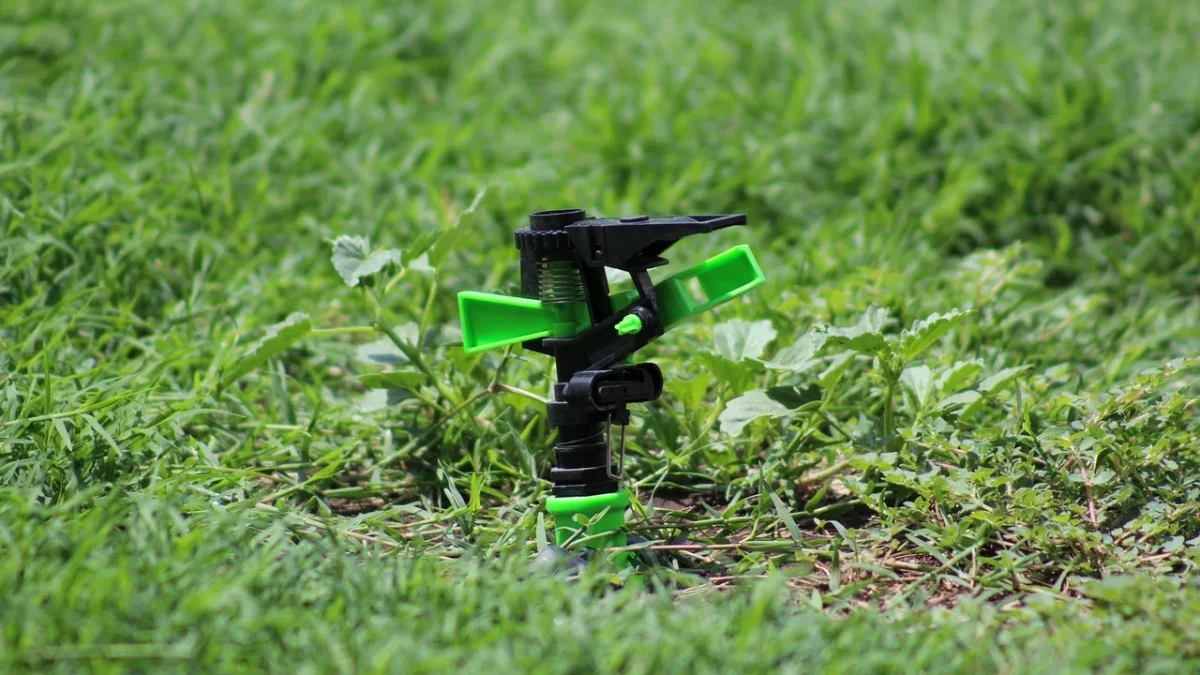
A micro-spray or micro-sprinkler, by contrast, throws visible streams of water in a pattern. Those are wonderful tools for ground cover and seedlings, and if you want to understand the difference in output, my breakdown of how micro-sprays and micro-sprinklers compare lays it out. But they are the wrong tool inside a humidity dome.
The word to know here is atomize. It just means breaking water into a fog of tiny droplets rather than drops. Atomizing takes pressure, which is why I keep coming back to psi in a minute.
Quick tip
Hold a piece of dark paper under a running mister for two seconds. If you see distinct wet dots, it is spraying. If it just looks evenly damp with a faint sheen, you have real fog.
Flow rates: think small, then smaller
Emitters and nozzles are rated in GPH, gallons per hour, which is how much water they release if left running for a full hour. Misting nozzles live at the very bottom of that scale.
A typical propagation misting head runs somewhere between 3 and 13 GPH. Compare that to a shrub emitter at 1 or 2 GPH that drips steadily, or a micro-sprinkler at 15 to 40 GPH. Misters use small numbers because you run them in bursts of seconds, not steady flow.
If GPH ratings are new to you, it is worth reading my primer on drip emitter types and flow rates before you shop, because the label numbers are the whole game. And when you start matching output to specific plants, choosing the right emitter GPH follows the same logic scaled down.
| Nozzle type | Typical flow (GPH) | Droplet size | Best use in propagation |
|---|---|---|---|
| Fine fogger | 3 to 8 | Very fine fog | Humidity domes, delicate softwood cuttings |
| Mister head | 7 to 13 | Fine mist | Open benches, hardwood cuttings |
| Micro-spray | 15 to 25 | Small droplets | Rooted plugs, seedling trays (not misting) |
Pressure is the part people skip
Here is a mistake I see constantly. Someone buys nice fogger nozzles, screws them onto standard 1/4 inch tubing, opens the valve, and gets a sad dribble instead of fog. The nozzle is fine. The pressure is too low.
Fog nozzles need pressure to atomize. Most misting heads want 20 to 50 psi to make a proper fog. Standard drip systems often run at 10 to 15 psi after the pressure regulator, which is too gentle for real fogging.
So check your line pressure with an inexpensive gauge (about 8 to 12 dollars) that screws onto a hose bib. If you are below 20 psi, you may need a higher pressure zone just for misting, or foggers rated to work at lower pressure.
Watch out
Do not run misting nozzles on the same zone as low-pressure drip emitters behind a 10 psi regulator. The emitters want low pressure and the foggers want high pressure. Trying to serve both from one line leaves you with weak fog and over-pressured drippers.
The tubing and filter setup
For a small propagation bench, the layout is simple. Run a 1/2 inch supply line (the main black poly tubing) along the bench, then punch in 1/4 inch tubing branches to reach each misting nozzle on its stake.
The 1/2 inch line carries the water. The 1/4 inch line is the last hop to each nozzle. Keep those 1/4 inch runs short, under 5 feet, so you do not lose pressure before the water even reaches the fogger.
Now the filter, because this is the piece beginners forget. Misting orifices are tiny, sometimes smaller than a pin. A 150 to 200 mesh filter (mesh is how fine the screen is; higher number means finer) stops grit from clogging them.
Good to know
If you are on well water or hard city water, mineral scale will slowly close up fog nozzles even with a filter. Soaking them in white vinegar for an hour every few months clears the buildup and brings the fog back.
A simple bench setup, step by step
Let me walk through a real one. Say you have a 4 foot bench with two trays of coleus and salvia cuttings under a humidity dome.
- Run 1/2 inch supply tubing along the back edge of the bench and cap the far end.
- Install a 150 mesh filter at the start of the line, right after your valve.
- Punch two holes and add 1/4 inch branches, each ending in a fine fogger rated around 5 to 8 GPH.
- Position each fogger 8 to 12 inches above the cuttings so the fog drifts down, not blasts sideways.
- Set a timer to mist for 6 to 10 seconds every 10 to 15 minutes during daylight, then back off at night.
That short, frequent rhythm is the heart of it. You want the leaves damp and the air humid, but the rooting medium should stay moist, never soggy. If water is pooling in the tray, your bursts are too long or too frequent.
Picking the right nozzle for your cuttings
Softer cuttings, like coleus, basil, or new-growth geraniums, wilt fast and want the finest fog you can make, so lean toward 3 to 8 GPH foggers. Woodier cuttings, like rosemary or hydrangea, tolerate a slightly coarser mist at 8 to 13 GPH.
Nozzle mounting style matters too. Some thread inline into the tubing, others push onto a barb or button base. If that distinction is fuzzy, my comparison of inline versus button emitters explains how each connects, and the same fittings show up on misting heads.
For deciding how many nozzles and how much total flow a small greenhouse zone can handle, the WaterSense program from the EPA WaterSense and the propagation guidance from University of Minnesota Extension are both solid, plain-English references I send people to.
Where to go from here
Start small. Get one bench misting cleanly with a filter, the right psi, and short bursts before you scale to a full greenhouse. A single tray that roots well teaches you more than a big setup that drowns everything.
Once your fog is dialed in, watch the medium for a week. Cuttings that stay perky and green with a rooting medium that is damp but never wet mean your hardware and timing are matched. That is the quiet sign you got it right.
Frequently asked questions
What flow rate should misters for cuttings have?
Most propagation foggers run between 3 and 13 GPH, which is very low because you use them in short bursts rather than steady flow. Softer cuttings like basil or coleus do best with the finest 3 to 8 GPH foggers. Woodier cuttings such as rosemary can handle 8 to 13 GPH.
How much water pressure do misting nozzles need?
Most fog nozzles need 20 to 50 psi to atomize water into a true fog. Standard drip systems often run at 10 to 15 psi, which is too low for real fogging. Check your line with a cheap pressure gauge before you buy nozzles.
How often should I run misters on cuttings?
Short and frequent wins. A common starting point is 6 to 10 seconds of mist every 10 to 15 minutes during daylight, then much less at night. Watch the tray: if water pools in the medium, shorten the bursts or space them further apart.
Why do my misting nozzles keep clogging?
The orifices in fog nozzles are tiny, so grit and mineral scale block them easily. Install a 150 to 200 mesh filter at the start of the line to catch debris. For hard water or well water, soak the nozzles in white vinegar for an hour every few months to clear scale.
Can I use a micro-sprinkler instead of a fogger for cuttings?
Not for true propagation misting. Micro-sprinklers and micro-sprays throw visible droplets that soak the rooting medium and can rot unrooted stems. They are great for seedlings and ground cover, but cuttings need fine fog on the leaves, not a shower on the soil.
What tubing size do I need for a misting bench?
Run a 1/2 inch supply line along the bench to carry the water, then branch off with short 1/4 inch tubing to reach each nozzle. Keep the 1/4 inch runs under about 5 feet so you do not lose pressure before the fog even forms.